
Heated blankets provide warmth and comfort, but a damaged cord can render them useless. Understanding how to replace or repair the cord is essential for safety and functionality.
Heated Blanket Cord Replacement: How to Fix It
To fix a heated blanket cord, first unplug the blanket and let it cool completely. Then, find a compatible replacement cord or repair the existing one by following clear safety steps.
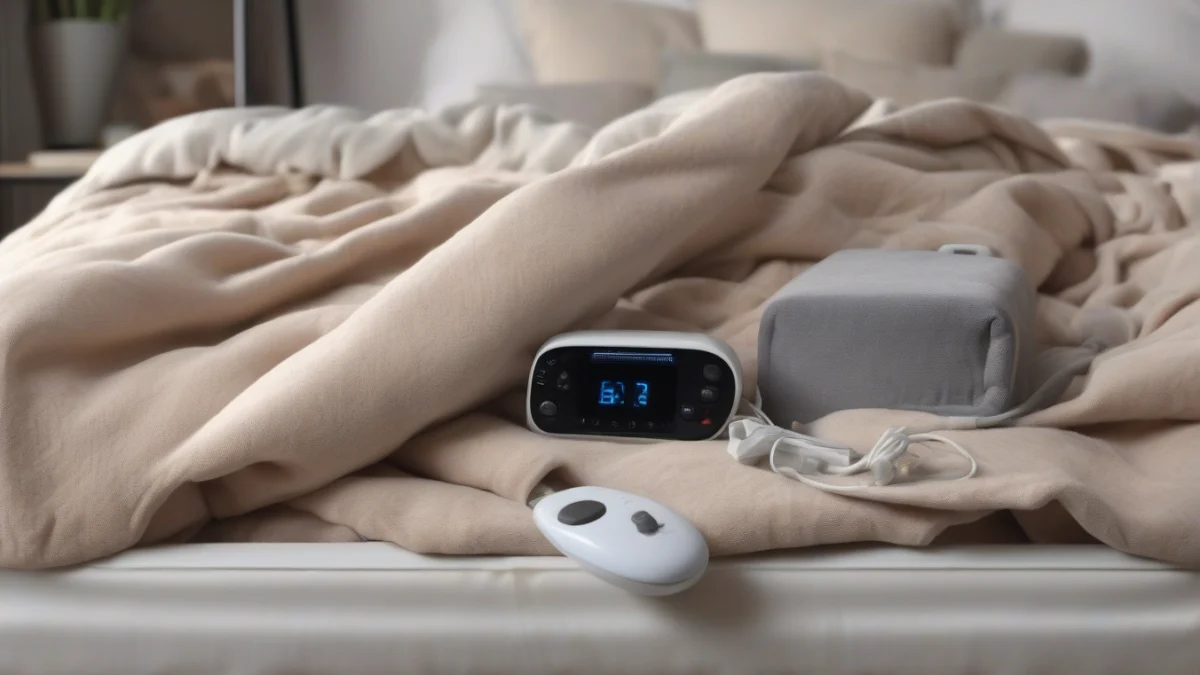
Heated blanket cords often fail due to bending near the plug or controller, accidental cuts, or wear from repeated folding. Replacing the cord involves removing the damaged cord assembly and installing a new one that matches the model’s specifications.
- Unplug and CoolDisconnect the blanket from power and wait until it is completely cool.
- Remove the Old CordLocate the connection point where the cord attaches to the blanket, usually secured by a clip or stitching. Carefully detach it without damaging the blanket fabric or wiring.
- Obtain a Replacement CordPurchase an electric blanket cord replacement designed for your blanket’s brand and model. Using a generic cord risks mismatch and safety hazards.
- Attach the New CordConnect the new cord to the blanket following the manufacturer’s instructions. Ensure connectors are secure and insulated.
- Inspect for DamageCheck the entire cord length for any signs of damage or wear before use.
- Test the BlanketPlug in and turn on the blanket to confirm it heats properly and the cord remains cool during operation.
Understanding Common Causes of Cord Damage
Heated blanket cords stop working mainly because of frayed wires, faulty connectors, or environmental wear. These issues explain why your heated blanket may not work even when plugged in.
| Cause | Description | Effect on Blanket |
|---|---|---|
| Frayed Cords | Repeated bending or pinching wears down insulation and wires. | Can cause shorts or open circuits, stopping heat. |
| Faulty Connectors | Loose or corroded plugs and controller joints. | Interrupts power flow, leading to intermittent or no heat. |
| Environmental Factors | Exposure to moisture, heat, or pet damage. | Accelerates wear, leading to breaks or shorts. |
When to Replace Instead of Repair
You can repair your heated blanket cord if the damage is minor, such as a loose connector or a small fray in the insulation. However, if you see exposed wires, burnt areas, or broken connectors, replacement is the safer choice.
Signs to replace your heated blanket cord include visible wire damage, persistent malfunction despite repair attempts, or if the blanket frequently trips your circuit breaker. Damage near the plug or control unit is particularly serious.
Replacement cords vary widely in price depending on brand and compatibility. Repairing a cord yourself can save money but requires the correct parts and skills. If your blanket is older than 5 years, replacing the entire unit is often safer and more reliable.
| Action | When to Choose |
|---|---|
| Repair | Minor connector issues, intact insulation, and clear wiring |
| Replace Cord | Exposed wires, burnt spots, frequent failures, or damaged plug |
| Replace Blanket | Old blanket, multiple failures, or unsafe overall condition |
Tools and Materials Needed for Cord Replacement
To replace a heated blanket cord, you need a compatible replacement cord designed for your blanket model. Check the blanket’s brand and model number to find exact matches from the manufacturer or authorized dealers.

- Gather ToolsYou need a small screwdriver set, wire strippers, electrical tape, and a multimeter to check continuity.
- Find Replacement CordLook for cords labeled for heated blankets with matching connectors and voltage ratings. Avoid generic or universal cords that may not fit safely.
- Prepare Safety GearWear insulated gloves and work on a non-conductive surface. Unplug the blanket and let it cool before starting.
Replacement parts come from the blanket manufacturer or specialty suppliers. Using the exact cord model ensures the correct power rating and safety features like thermal cutoffs and fuses are maintained.
Testing Your Heated Blanket After Cord Replacement
To test your heated blanket after replacing the cord, plug it into a grounded outlet and turn it on at the lowest heat setting. Check that the blanket begins to warm evenly within a few minutes. Use your hand to feel for heat across different areas, avoiding prolonged contact with any one spot.
- Visual InspectionExamine the entire cord and blanket for any visible damage, loose connections, or exposed wires before plugging it in.
- Initial Power-On TestPlug in the blanket and switch it on at the lowest setting. Confirm that the control unit lights up and the blanket starts warming.
- Heat Distribution CheckAfter about five minutes, feel multiple sections of the blanket to ensure consistent warmth without hot spots.
- Functionality of ControlsCycle through all heat settings to verify that each level responds correctly and safely.
Perform these tests in a safe environment where you can unplug the blanket quickly if needed. Keep the blanket flat and away from flammable materials during testing.
If any problems arise during testing or if you are unsure about your repair, consult a professional electrician or contact the manufacturer. Faulty repairs can cause electrical shock or fire hazards.
After confirming the blanket works safely, follow the manufacturer’s instructions for regular use and storage. Proper care extends the life of your heated blanket and reduces risk.
Replacing a heated blanket cord correctly and testing it thoroughly ensures your safety and comfort. If you want more detailed repair guides, see our advice on your heated blanket cord broke.
