
Warm air rises and finds every crack, wire hole, and poorly fitted hatch on its way out through your roof. A well-insulated attic with unsealed gaps still bleeds heat. A sealed attic with thin insulation performs better than you’d expect.
The fix is a two-step process: seal the envelope, then slow conduction with insulation. Add balanced ventilation to keep moisture out, and you’ve solved the problem for decades.
How to Prevent Heat Escaping Through Walls and Ceilings
Seal air gaps first, then add insulation to the attic floor or between rafters. Those two steps, in that order, stop most heat escaping through your roof and can cut your heating bill by 10 to 20 percent because air leaks cause more heat loss than poor insulation alone.
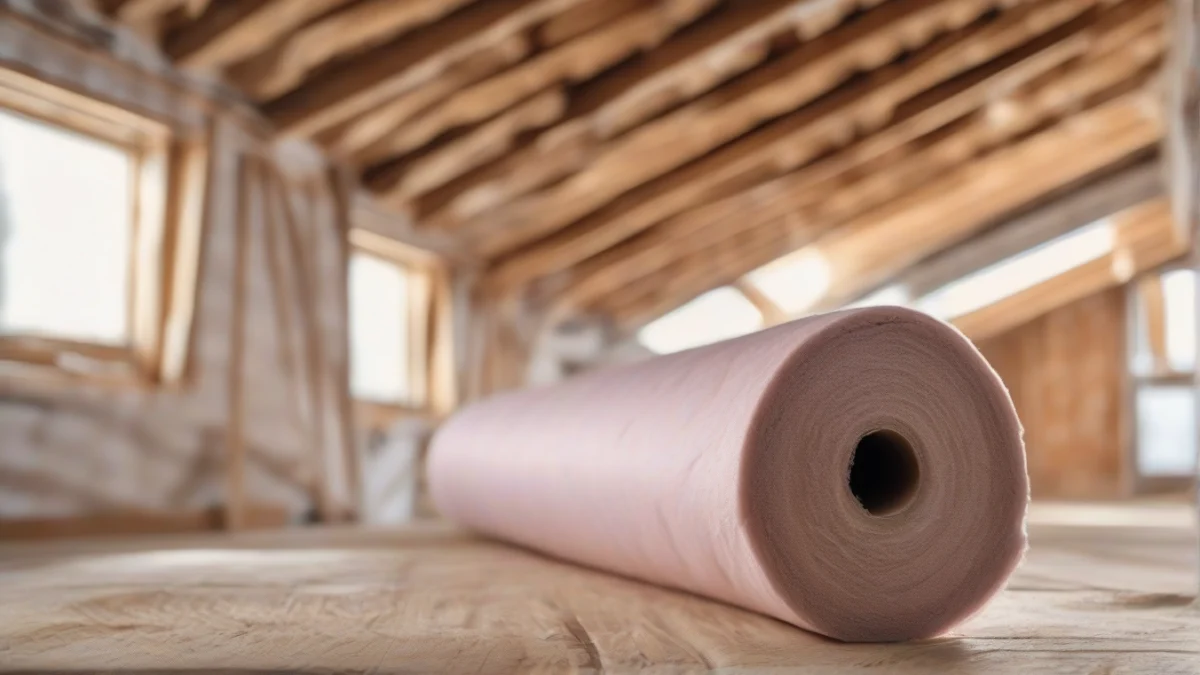
Heat leaves your home two ways: through air leaks and through conduction. Air leakage is the bigger culprit. Warm air rises and escapes through gaps around recessed lights, plumbing penetrations, electrical boxes, and the attic hatch. Cold air replaces it from below, creating a continuous draft that pulls heated air out even when your furnace is running. Insulation slows conduction—the transfer of heat through solid materials—but it does almost nothing to stop air leaks.
The top plates where interior walls meet the attic are a common leak point. Builders frame walls with a horizontal top plate, and gaps between that plate and the drywall let air pour into the attic. Recessed lights, bathroom fans, and the gaps around pipes and wires that drop through the ceiling create more paths. An unsealed attic hatch acts like an open window. Together, these openings can leak as much heat as leaving a window cracked open all winter.
Insulation without an air barrier fails because convection currents bypass it. Warm air flows through the insulation into the attic, and the insulation itself acts like a filter instead of a blanket. You end up heating the attic rather than your living space. Air sealing stops that flow, and only then does insulation work as intended.
The correct order is seal, insulate, then ventilate. Plug every gap you can reach with caulk, spray foam, or foam board. Add insulation to the attic floor if you have a vented attic, or between and under the rafters if the attic is conditioned space. Finally, ensure ventilation above the thermal envelope so moisture can escape without condensing on cold surfaces. Skipping air sealing wastes insulation and leaves your heating bill higher than it needs to be. Stopping heat loss through cracks and gaps elsewhere in the house follows the same principle: find the leak, seal it, then insulate if the surface needs it.
Air Sealing Your Attic: Step by Step
Air sealing stops heat loss at the source, and it works only if you do it before you add insulation. Once batt or loose-fill insulation covers the attic floor, you cannot see or reach the gaps where warm air escapes. Do this work on a cold day when the temperature difference makes leaks easier to find.
Tools and Materials You Need
- Acrylic latex caulk for small cracks and gaps under ¼ inch
- One-component expanding foam for larger gaps around pipes and wires
- Fire-stop sealant rated for chimneys and metal flues
- Foam weatherstripping and rigid foam board for the attic hatch
- A smoke pencil or incense stick to locate drafts
- Work light, dust mask, and gloves
- Locate the leaksWalk the attic floor on a cold day and hold a smoke pencil or lit incense stick near the edges where walls meet the ceiling below. Smoke that moves quickly reveals a gap. Pay attention to areas around plumbing stacks, electrical boxes, and the perimeter where interior walls reach the attic floor.
- Seal the top platesThe top plate is the horizontal framing lumber where each interior wall meets the attic floor. Gaps along this joint let warm air pour into the attic. Run a thick bead of acrylic latex caulk along both sides of every top plate, pressing it into the gap. This step alone closes the largest leak in most homes.
- Seal wire and pipe penetrationsSpray one-component expanding foam around electrical cables and plumbing pipes that pass through the attic floor. Do not overfill; foam expands to several times its wet volume. Trim any excess once it cures. For grouped wires, stuff the hole with fiberglass first, then seal the surface with caulk.
- Use fire-rated sealant around chimneys and fluesMetal chimneys, furnace flues, and masonry chimney chases get hot. Standard foam and caulk ignite or melt. Use only fire-stop sealant rated for high-temperature penetrations, and maintain the clearance the building code requires—usually 2 inches from combustible framing to a metal flue. If heat loss through your chimney is a concern year-round, a damper or balloon plug helps when the fireplace is not in use.
- Weatherstrip and insulate the attic hatchAn uninsulated hatch leaks as much air as a small window left open. Stick adhesive foam weatherstripping to the top of the hatch frame so it compresses when you close the cover. Then glue or screw rigid foam insulation board to the back of the hatch itself—two inches of polyisocyanurate brings the hatch close to the R-value of the surrounding ceiling.
- Address recessed lightsOld recessed can lights punch holes in the thermal envelope. If the fixture is not rated IC (insulation contact) and airtight, you have two options: replace it with an IC-rated airtight LED fixture, or build a sealed box from rigid foam or drywall over the existing fixture, caulking every seam. Never cover a non-IC fixture with insulation directly; it will overheat.
Once every penetration is sealed and the smoke pencil shows no movement, you are ready to add or top up insulation. Air sealing takes a few hours and costs less than fifty dollars in materials, but it delivers half the thermal improvement of a full insulation upgrade. Miss this step and warm air will bypass even the thickest insulation, rising through every unsealed crack.
Choosing and Installing Attic Insulation
Once you seal air leaks, insulation keeps the warm air you paid to heat inside the envelope. Two strategies: a cold roof puts insulation on the attic floor, leaving the attic itself cold and vented; a warm roof insulates under the roof deck or between the rafters, bringing the attic inside the thermal envelope. Cold roofs work for most homes and cost less. Warm roofs suit cathedral ceilings, bonus rooms above the garage, or any space where you want the attic conditioned, but they demand careful moisture management and often a professional install.
R-value measures thermal resistance: higher numbers mean better insulation. Most US climate zones call for R-38 to R-60 on the attic floor. The colder your winters, the higher you go. Check your local code for the minimum, then add more if your heating bills justify it. Doubling insulation thickness does not double the R-value, but going from R-19 to R-38 still cuts heat loss through the ceiling by roughly half.
| Material | R-value per inch | Best use | Key considerations |
|---|---|---|---|
| Fiberglass batts | R-3.1 to R-3.4 | DIY cold roof, standard joist spacing | Must fit snugly; compression or gaps cut performance. Wear gloves and a mask. |
| Blown-in cellulose | R-3.2 to R-3.8 | Topping up existing insulation, irregular spaces | Settles 10 to 20 percent over time. Rental blower required. |
| Spray foam (closed-cell) | R-6 to R-7 | Warm roof, air sealing and insulation in one step | Professional-only. Expensive. Creates vapor barrier; ventilation changes. |
| Rigid foam boards | R-3.8 to R-6.5 | Continuous insulation over rafters, warm roof | Requires careful tape and seam work. Polyiso loses R-value in cold. |
| Mineral wool batts | R-3 to R-3.3 | Fire-prone areas, moisture-prone attics | Fire-resistant, does not absorb water, easier to cut than fiberglass. |
Fiberglass batts are the most common DIY choice. Buy batts sized for your joist spacing—16 or 24 inches on center—and lay them perpendicular to the joists for a second layer. Cut batts to fit around obstacles rather than stuffing them in; compression cuts R-value. A utility knife and a straight edge are enough. Wear long sleeves, gloves, and a dust mask; fiberglass irritates skin and lungs.
Blown-in cellulose fills gaps around wires, pipes, and irregular framing that batts miss. Rent a blower from a home center, and a helper feeds the hopper while you aim the hose. Cellulose settles over the first year, so installers blow it 20 percent deeper than the target. It works well for topping existing insulation up to code without tearing out what you have.
Spray foam delivers the highest R-value per inch and seals air leaks as it expands, making it the best performer for warm roofs and cathedral ceilings. Closed-cell foam also blocks moisture, which eliminates the need for a separate vapor barrier but requires you to rethink attic ventilation. Hire a licensed installer; the chemicals require protective equipment and cure time. Expect to pay three to five times what fiberglass costs.
Rigid foam boards—polyisocyanurate, extruded polystyrene, or expanded polystyrene—go over rafters or under sheathing for continuous insulation with no thermal bridging through the framing. Tape every seam with compatible tape and stagger the joints. Polyiso offers the highest R-value per inch but loses performance below 40°F, so use it in moderate climates or combine it with another layer.
Mineral wool batts cost more than fiberglass but tolerate moisture without losing R-value and will not burn. If your attic sees high humidity or you live in a wildfire zone, mineral wool adds a margin of safety. It cuts cleanly with a bread knife and does not itch the way fiberglass does.
For a cold roof, lay insulation across the attic floor joists, not between the rafters. Leave the attic vented so moisture can escape. For a warm roof, insulate between or under the rafters and seal the attic from outside air; this approach often requires you to close off soffit and ridge vents and condition the attic space. Mixing the two strategies traps moisture and rots the roof deck. If you are stopping cold air coming through roof joints or sealing other leaks above the insulation line, a warm roof may suit your situation better.
Balancing Attic Ventilation to Control Moisture
Sealing air leaks stops heat from escaping, but moisture from cooking, showers and breathing still rises into the attic as vapor. That vapor needs a way out. When warm humid air meets cold roof sheathing in winter, it condenses into water that rots wood and grows mold.
The standard rule calls for 1 square foot of net free vent area for every 300 square feet of attic floor. Split that evenly between intake vents low in the soffits and exhaust vents high at the ridge or gable ends. Air enters at the soffit, flows upward along the underside of the roof deck, and exits at the ridge, carrying moisture with it.
Insulation pushed tight against the roof deck blocks the airflow path from soffit to attic. Check the eaves after installing insulation: you should see daylight through the soffit vents and a clear channel above the insulation. Install rafter baffles—rigid foam or cardboard chutes that staple between rafters—to hold insulation back and maintain a 1- to 2-inch airway from soffit to attic space.
Poor ventilation shows up as frost on the tips of roofing nails poking through the sheathing in winter, a musty smell in the attic, or insulation that sags and looks compressed or stained. A warm roof—insulation installed between or above the rafters with no attic space—uses a different approach: no ventilation, and a continuous vapor barrier on the warm side of the insulation to stop moisture from reaching the cold sheathing. That design needs careful detailing and is usually best left to a professional.
Stopping Heat From Entering Through the Roof in Summer
Air sealing and insulation work both directions. The same envelope that keeps heat inside in January keeps it outside in July. Insulation on the attic floor stops heat from the attic from entering the living space below, even when the attic reaches 140°F on a summer afternoon.
Attic ventilation matters more in summer because it exhausts hot air before it builds up and radiates downward through the insulation. The same soffit-to-ridge airflow that removes moisture in winter removes heat in summer. Passive vents handle the job in most climates and cost nothing to run. Powered attic fans pull more air but add to the electric bill and can depressurize the attic enough to pull conditioned air out of the living space if the attic floor is not well sealed.
A radiant barrier—aluminum foil stapled to the underside of the roof rafters—reflects infrared heat back toward the roof deck before it warms the attic air. It works best in hot climates and cuts attic temperatures by 20 to 30°F. The foil faces down into the attic with an air gap below it; foil laid directly on insulation or sheathing does nothing.
Light-colored or reflective roofing materials absorb less heat than dark shingles. A white or light gray roof stays 50°F cooler than a black one in full sun, which means less heat entering the attic. That choice matters most when you are replacing the roof anyway; it is not worth tearing off a sound roof solely for the cooling benefit.
When to DIY and When to Hire a Professional
Air sealing obvious gaps and laying fiberglass batts in a simple attic are straightforward DIY jobs. You can plug gaps around pipes and wires with canned foam, install an insulated attic hatch cover, and roll out batts between joists if you work carefully and step only on the joists. Topping up blown insulation in an open attic with good headroom is manageable if you rent a blower and follow the machine’s instructions.
Call a professional for spray foam, dense-pack cellulose blown into walls, warm roof conversions, or any attic with complex framing or moisture problems. Ice dams that keep returning signal a diagnosis problem, not a DIY fix. Large attics take days and need proper ventilation baffles, which most DIYers install incorrectly.
- Blower door test finds every leak you cannot see
- Proper equipment and code knowledge
- Warranty on materials and labor
- You can miss hidden gaps that waste most heat
- Rented blowers lack the pressure for dense coverage
- No recourse if the work causes moisture or mold
DIY air sealing and fiberglass batts require materials that vary by attic size and condition. Professional blown-in cellulose or fiberglass insulation depends on attic access and coverage area. Spray foam needs specialized equipment and training, making it the most complex and costly option.
Stop and call someone if you find mold, wet or compressed insulation, water stains on roof sheathing, or any sign of a roof leak. Electrical issues—exposed wire splices, damaged cables, or junction boxes buried in insulation—need an electrician before you add more insulation. Fixing those problems first prevents expensive damage later.
Related Heat Loss Points to Check
Open staircases act as chimneys, pulling warm air from the ground floor straight up to the upper floor and into the attic. The air you heat downstairs rises through the stairwell faster than it spreads through the rooms. A door at the top or bottom of the stairs stops that draft; so does reducing heat leakage up the staircase with weatherstripping and a heavy curtain.
Extractor fans without dampers let heat escape even when the fan is off. The duct becomes a direct path to the outside, and warm air rises through it all day. Stopping warm air escaping through extractor fans means installing a damper that closes when the fan stops, or replacing the fan with a model that has one built in.
Chimneys leak heat constantly if they lack a damper or a cap. An open flue pulls warm air out of the room and up the stack every hour the heating runs. Even a closed damper leaks if it warped or rusted. Heat loss through chimneys stops with a tight-sealing damper, a chimney balloon, or a cap that blocks wind-driven drafts.
Vents in walls and ceilings leak when their dampers break or when they were never sealed properly around the edges. Passive vents for old heating systems often stay open permanently. Heat losses through vents drop when you close or cap unused vents and check that active ones close fully when not in use.
Cracks around door thresholds and in plaster walls add up to more heat loss than most people expect. A quarter-inch gap under a door loses as much heat as a hole the size of a brick in the wall. Stopping heat loss through cracked walls and sealing door thresholds are small jobs that cut heating costs noticeably.
Frequently Asked Questions
How do you stop heat escaping through your extractor fan?
How do I stop heat escaping from my living room through the staircase?
What is the cheapest way to prevent heat loss through a roof?
Does a metal roof lose more heat than shingles?
How much can I save by insulating my attic?
Do I need to remove old insulation before adding new?
The other half of this decision is keeping warmth in from below.
Readers in this position usually ask about why some areas are cold as well.
