
Your boiler heats water to 60 or 70°C, but bare pipes lose that heat before it reaches the radiators. A metre of uninsulated 15mm copper pipe running through a cold loft can lose 15 watts continuously when the heating is on. Over a heating season, that adds up.
Pipe lagging is a one-hour job that seals in warmth, protects against winter bursts, and stops drips from condensation on cold supply pipes. The foam costs pennies per metre, the method is straightforward, and the result shows in lower gas bills and radiators that heat up faster.
How to Insulate Behind a Radiator
Insulate the pipes behind a radiator by wrapping them with foam lagging, either by removing the radiator for full access or by threading flexible pipe wrap around them with the radiator still mounted. The pipes behind radiators lose the most heat because they run along cold external walls in a space where air barely circulates, and insulating them cuts that waste by up to 10% while preventing condensation damage to the wall.
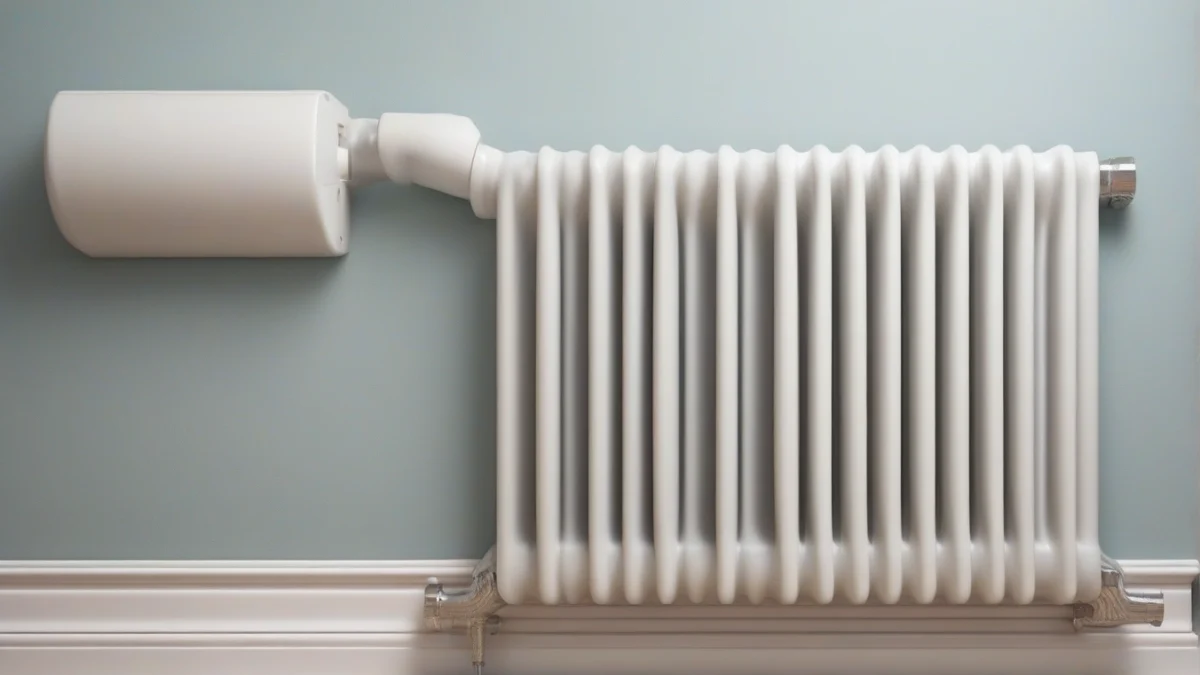
Most UK radiators mount on external walls, and the flow and return pipes that feed them sit directly against cold masonry. Heat radiates from those pipes straight into the wall rather than into the room. The tight gap between radiator and wall makes the problem worse: trapped air stays cold, and reaching the pipes to wrap them requires either removing the radiator or working blind with flexible materials.
Two Methods: Remove the Radiator or Work Around It
Removing the radiator gives you full access to measure, cut and fit rigid foam lagging neatly around every pipe joint and valve. You’ll need to drain the radiator first by closing both valves, loosening the union nut at the thermostatic valve, and catching the water in a shallow tray. Prop the drained radiator against the wall, insulate the pipes with pre-slit foam tubes, then rehang and refill.
Working without removal means using thin, flexible pipe wrap or adhesive foam tape that you can thread behind the radiator and press into place by feel. This method takes longer and covers the pipes less completely, but it avoids draining the system and suits renters or anyone uncomfortable disconnecting a radiator.
- Close both radiator valvesTurn the thermostatic valve to zero and close the lockshield valve with a small adjustable spanner, counting the turns so you can reopen it to the same setting later.
- Drain the radiatorPlace a shallow tray under the thermostatic valve, loosen the union nut with a spanner, and let the water drain. Tilt the radiator gently toward the valve if flow slows.
- Lift the radiator off its bracketsOnce drained, lift the radiator straight up and prop it carefully against the wall. The brackets stay mounted.
- Wrap the pipes with foam laggingMeasure each pipe, cut pre-slit foam tubes to length, press them around the pipe with the slit facing the wall, and seal the seam with adhesive tape or the self-seal strip.
- Rehang and refillLower the radiator back onto its brackets, tighten the union nut, open both valves, and bleed air from the bleed screw at the top until water flows.
Pair Pipe Insulation with Reflective Foil Panels
Once the pipes are wrapped, fit a reflective foil panel to the wall behind the radiator. The foil reflects radiant heat back into the room rather than letting it soak into cold masonry, and the two measures together deliver greater savings than either alone. Panels stick directly to the wall with adhesive or double-sided tape and sit between the radiator brackets. For more on choosing and fitting foil panels, see behind radiator insulation.

Insulating Central Heating Pipes: Hot Flow, Return, and Cold Supply
Central heating pipes carrying hot water from your boiler to radiators need insulation whether they’re flowing out or returning back. The flow pipe delivers heated water at around 60–75°C, while the return brings cooler water back to the boiler—but even at 40–50°C, that return run sheds heat into spaces you don’t want to warm. Every metre of bare 15 mm copper pipe in a cold loft loses roughly 15–20 watts per hour, turning your roof void into an expensive radiator.
Cold supply pipes—mains water feeding taps, toilets, and the boiler’s filling loop—need lagging for a different reason. In unheated voids they can freeze and burst in winter, or sweat condensation in summer that drips onto ceilings and soaks insulation. Foam pipe wrap stops both. The goal isn’t energy savings; it’s damage prevention.
Plastic pipes—PEX, polybutylene, or multi-layer composite—conduct heat more slowly than copper, so they lose slightly less energy per metre. But in a loft at 5°C or an uninsulated crawl space, they still bleed warmth and still need foam lagging. The lower conductivity buys you a few degrees, not a pass.
| Pipe Type | Insulation Priority | Why |
|---|---|---|
| Hot flow and return in loft | High | Greatest heat loss; hardest to re-access |
| Cold supply in loft or exterior wall cavity | High | Freezing and burst risk in winter |
| Hot pipes under suspended floors | Medium | Heat escapes to ventilated void below |
| Hot pipes in heated rooms | Low | Heat contributes to room temperature |
| Cold supply in heated spaces | Low | No freeze risk; minimal condensation |
Radiators themselves transfer heat by convection and radiation: air warms as it rises past the fins, and infrared energy radiates from the surface. Insulating the pipes feeding them ensures more of the boiler’s output reaches the radiator instead of warming the joists. A well-lagged system means shorter boiler run times, lower gas or oil consumption, and radiators that heat rooms rather than roof spaces.
If your home has thin walls in a terraced house, pipe insulation pairs well with broader fabric improvements to hold onto the heat your system generates. The pipes themselves are a small surface area, but they’re often the easiest retrofit with the clearest return.
Installing Foam Pipe Lagging: Step-by-Step
Foam lagging fits in minutes once you know the diameter of your pipes. Radiator feeds visible under floors or running through loft voids usually measure 15 mm for individual radiators and 22 mm for the main circuit pipes. The foam compresses slightly, so a tube sized for your pipe grips without slipping.
- Turn off the heating and let pipes coolSwitch off your boiler and wait at least thirty minutes. Hot pipes are uncomfortable to handle and the foam’s adhesive strip won’t bond properly to a warm surface.
- Measure each pipe runNote the diameter and the length of exposed pipe, including any bends or elbows. Pre-slit foam tubes come in one-foot or two-meter lengths; buy enough to cover every section that runs through an unheated space or along an external wall.
- Cut the foam to lengthUse a sharp utility knife or serrated bread knife to slice through the foam cleanly. Ragged ends leave gaps that let heat escape.
- Open the slit and wrap the pipePull apart the pre-slit seam, position the tube around the pipe, then press the adhesive strip closed along its full length. Start at one end and work your way down, smoothing the seam as you go to avoid wrinkles.
- Fit bends with mitered cutsWhere a pipe turns ninety degrees, cut the foam at a 45-degree angle on each side of the elbow so the two pieces meet flush. The foam should follow the pipe’s shape without gaps at the bend.
- Seal joints and seams with foil tapeWrap aluminum foil tape around every joint, seam and cut end to complete the vapour barrier. This stops condensation forming inside the foam on cold pipes and prevents heat leaking out on hot ones.
- Secure long horizontal runsUse cable ties or plastic pipe clips every meter to support the foam and stop it sagging away from the pipe over time. A gap of even a few millimeters halves the insulation’s effectiveness.
The same method works whether you’re insulating visible radiator pipes in a bedroom, mains under a suspended floor, or cold supply lines in a loft. The difference is access: loft pipes are usually straightforward, while pipes behind a radiator may need the rad removed or flexible wrap threaded through tight spaces, as covered in the guide to insulating behind radiators.
Covering Exposed Pipes to Prevent Burns
Radiator pipes carrying flow water from the boiler can reach 60 to 70°C when the system runs at typical settings. That’s hot enough to burn skin within two seconds of contact, which matters in homes with young children or where pipes run low along walls in high-traffic areas.
Foam lagging drops the surface temperature by 20 to 30°C, which makes accidental contact uncomfortable rather than dangerous. The foam itself stays cool enough to touch even when the pipe inside runs at full temperature. That’s usually enough for adult households, but not always sufficient where toddlers play or crawl near exposed pipes.
Decorative pipe covers—rigid plastic or wooden casings that box in the foam—add a second layer of protection. They turn a visible pipe into something closer to skirting, keeping small hands away from the heat source entirely. Positioning furniture or a freestanding safety gate to block access works just as well if the pipe runs in a fixed location.
Installing pipe insulation to cover the burn risk on radiator pipes solves two problems: it keeps the heat in the water where it belongs and makes the pipe safe to brush past. If you’re insulating for energy savings anyway, the safety benefit comes free.
Common Mistakes and How to Avoid Them
Foam lagging looks simple, but a few common errors can cut its effectiveness in half or create new problems.
- Leaving gaps at joints. Elbows, tees, and valves are where heat escapes fastest. Use flexible pipe wrap to cover bends completely, or notch foam carefully with a craft knife so the pieces butt up tight with no exposed metal.
- Insulating only the hot pipes. Cold supply pipes running through unheated spaces sweat and drip condensation onto ceilings and joists. They need lagging just as much as flow and return pipes do.
- Using thin foam in cold spaces. Six-millimetre wall thickness might work in a warm airing cupboard, but lofts and crawl spaces need at least 19 mm to prevent freezing and meaningful heat loss.
- Not sealing the seams. The adhesive strip on pre-slit foam holds at first, but moisture and vibration pull it apart over months. Run a strip of foil tape or PVC tape down the full length of every join.
- Compressing the foam. Forcing thick lagging between tight joists or behind a radiator squashes the air pockets that provide insulation. If the foam won’t fit without crushing, step down to a thinner wall or move the pipe slightly if you can.
- Skipping the first metre from the boiler or cylinder. These sections radiate the most heat into spaces you don’t want to warm. Lag them with high-temperature foam rated for at least 80°C.
When to Call a Heating Engineer
Wrapping accessible pipes with foam is straightforward DIY work. A few situations call for professional help.
Draining the system. If you need to remove a radiator or drain part of the pipework to reach hidden sections and you’re not confident isolating zones or refilling without airlocks, a heating engineer can do it in an hour. Getting it wrong means a system that won’t heat properly until someone bleeds every radiator and balances the flow.
Inaccessible pipes. Pipes buried in solid floors, chased into walls, or running inside stud partitions can’t be insulated without major building work. An engineer can assess whether rerouting above the floor or outside the wall makes sense, or whether the heat loss is small enough to accept.
Complex systems. Homes with zone valves, manifolds for multiple heating circuits, or underfloor heating fed from the same boiler have pipework layouts that aren’t obvious from looking. Insulating the wrong section can unbalance the system. Let someone who knows the setup choose which pipes to lag.
Corroded or leaking pipes. If you find green corrosion, weeping joints, or rust stains during your inspection, fix those first. Wrapping damaged pipes with foam hides the problem and traps moisture against the metal.
Oil or LPG boilers with external tanks. The feed pipes between the tank and boiler handle fuel under pressure and need fire-rated insulation if they run through living spaces. A heating engineer registered with OFTEC will know the requirements.
Frequently Asked Questions
Does insulating plastic central heating pipes make a difference?
What thickness of foam insulation do I need for loft pipes?
Can I use carpet or fabric behind a radiator for insulation?
How much money does pipe lagging actually save on heating bills?
Do I need to insulate pipes in a heated room?
How do I insulate pipes in a 1960s house with exposed runs?
We go through how to insulate a utility room: a practical guide step by step in a separate article.
Readers in this position usually ask about starting with insulation upgrades as well.
