
You’ve finally got your home cozy and warm. Then you feel ita persistent, chilly draft. You check the windows, the doors, but the culprit is often overlooked. It’s your extractor fan. These essential vents in kitchens and bathrooms are prime spots for warm air to escape, silently sabotaging your comfort and energy bills.
This isn’t just about a draft. It’s about a thermal bypass, where expensive heated air is literally sucked out of your home. The good news? Fixing this is a straightforward DIY project that pays for itself. For a simple, effective bathroom solution, many find the C350GN Bathroom Plastic cover invaluable. It’s a basic tool that addresses the core issue of air leakage directly at the source.
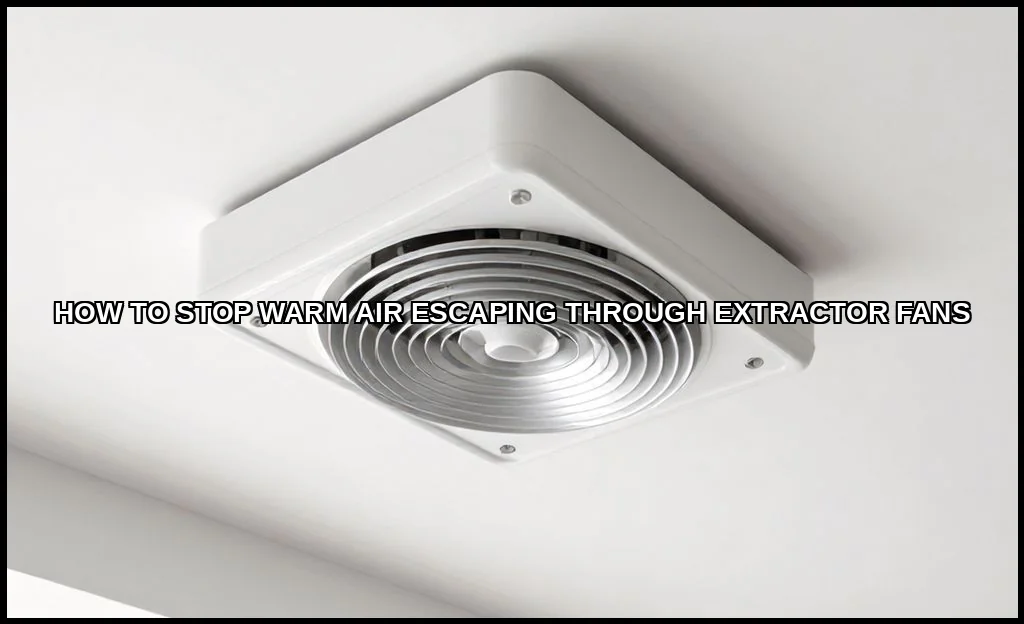
How Extractor Fans Become Heat Thieves
Extractor fans work by creating negative pressure to pull moist or odorous air outside. The problem is, they don’t have an off switch for physics. When the fan isn’t running, the duct leading outside acts as an open chimney. Warm indoor air rises and flows out, while cold outside air seeps in to replace it. This is why you feel cold air coming through fan vents.
Two main failures cause heat loss through extractor fans. First, a missing or broken backdraft damper lets warm air flow out and cold air flow in when the fan is off. Second, gaps around the fan housing or uninsulated ductwork create leaks and let cold air enter. Both issues waste energy and may cause condensation as warm, moist air hits cold surfaces, damaging ducts and walls. Fixing or replacing the damper and sealing and insulating the fan and duct are essential to stop heat escaping. Readers in this position usually ask about preventing leaks from extractor vents as well.
Your First Step: The Leak Inspection
Before buying anything, diagnose the issue. On a windy day, hold a lit incense stick or a thin piece of tissue near the fan grille when it’s off. If the smoke or paper is pulled in or flutters, you have a draft. Feel around the edges of the fan unit in the ceiling or wall for cold spots. In the kitchen, assess if your kitchen hood heat loss is from a recirculating model (safer) or an externally vented one (the usual suspect).
Listen as well. A rattling sound on windy days often means the backdraft damper is loose or broken. This inspection will tell you if you need to focus on sealing, replacing a part, or both. It’s the foundation for knowing how to prevent heat loss effectively.
Method 1: Master the Backdraft Damper
This is your fan’s first line of defense. A backdraft shutter is a simple hinged flap or set of louvers that opens when the fan runs and should snap shut when it stops. If it’s stuck open, bent, or missing, it’s useless.
Checking and Installing a Damper
- Turn off power at the circuit breaker. Safety first.
- Remove the fan’s cover or grille. You should see the damper mechanism inside the housing or at the duct’s exterior end.
- Check for obstructions like dust, grease, or lint. Clean it thoroughly. Manually move the flap to ensure it opens and closes freely.
- If it’s broken, replacement dampers are available. For a quick DIY fix for warm air escaping through wall vent, some homeowners install an inline duct damper, which fits inside the ductwork itself.
Remember, a proper damper is the simplest way to stop that reverse airflow. It’s a critical component often ignored until you’re trying to keep heat from vanishing through what feels like an open window.
Method 2: The Art of Sealing and Insulating
If the damper is fine, the leak is likely around the unit or in the duct. Creating an airtight seal is non-negotiable for energy efficiency.
Sealing the Perimeter
Over time, the sealant between the fan housing and your ceiling or wall can crack. This creates tiny gaps for air movement. How to seal around an extractor fan to stop drafts is a common search for a reason. We cover heat retention tips for damp rooms in the uk in its own guide.
- Again, ensure the power is off.
- Carefully remove the fan’s interior cover to access the housing’s edge.
- Remove old, cracked caulk with a utility knife.
- Apply a fresh bead of silicone or acrylic latex caulk designed for bathrooms/kitchens. Smooth it for a clean finish.
This step alone can make a dramatic difference, similar to the principles needed to prevent warm air from escaping through other structural gaps.
Insulating the Ductwork
This is where you tackle major thermal bypass. The metal or plastic duct running to the outside wall is often cold. When warm room air touches it, heat is conducted away. Duct insulation solves this.
- For accessible ducts in lofts or crawl spaces, wrap them with foil-backed duct insulation foam. Secure it with foil tape.
- Ensure all joints in the duct are also sealed with metal foil tape (not standard duct tape, which degrades).
- The goal is to insulate extractor fan duct along its entire length, especially where it passes through unheated spaces.
Think of this as putting a coat on your ductwork. It stops heat transfer and reduces condensation. For a simple draft stopper for vent on the room side, a magnetic or screw-on bathroom extractor fan cover can add an extra seal. Many ask for the best cover for bathroom extractor fan in winter; look for insulated models designed to create a thermal break.
Long-Term and High-Tech Solutions
For those looking beyond the quick fix, modern technology offers smarter ways to balance ventilation and efficiency.
Smarter Fan Controls
Instead of a manual switch, install a fan with a timer or humidity sensor. It runs only as long as necessary to clear moisture or odors, then shuts off, limiting the window for heat loss. This directly answers why is my kitchen extractor fan letting in cold airit might be running longer than needed.
The Ultimate Upgrade: Heat Recovery Ventilation (HRV)
For whole-house solutions, consider ventilation heat recovery. An HRV system uses the outgoing warm, stale air to heat the incoming fresh, cold air. They exchange heat without mixing the airstreams. It’s the gold standard for maintaining air quality without the massive energy penalty. While a bigger investment, it’s a concept championed by the authority guide on efficient home design for a reason.
| Solution | Cost | Skill Level | Impact on Heat Loss |
|---|---|---|---|
| Sealing Gaps | Low ($10-$20) | Beginner | High |
| Damper Repair/Install | Low to Medium | Intermediate | Very High |
| Duct Insulation | Medium | Intermediate | High |
| HRV System | High | Professional | Eliminates Loss |
Stopping warm air from escaping through your extractor fans isn’t a luxury. It’s a fundamental part of home maintenance that protects your wallet and your comfort. Start with the inspection. Fix the damper, seal the gaps, and insulate what you can. Each step tightens your home’s envelope. You’ll feel the difference on the next windy nightno more mysterious chills, just consistent, efficient warmth you worked hard to create.