
A draughty hallway can make your home uncomfortable, letting in cold air and driving up energy costs. Sealing these leaks is essential for maintaining a warm and inviting space.
How to Insulate a Draughty Hallway to Prevent Cold Air from Getting Out
To insulate a draughty hallway and stop cold air from getting out, first find all the draught sources. Then seal them with materials like door draft stoppers, weatherstripping, and foam sealant. This approach insulates the hallway, keeps heat in, and lowers energy bills.
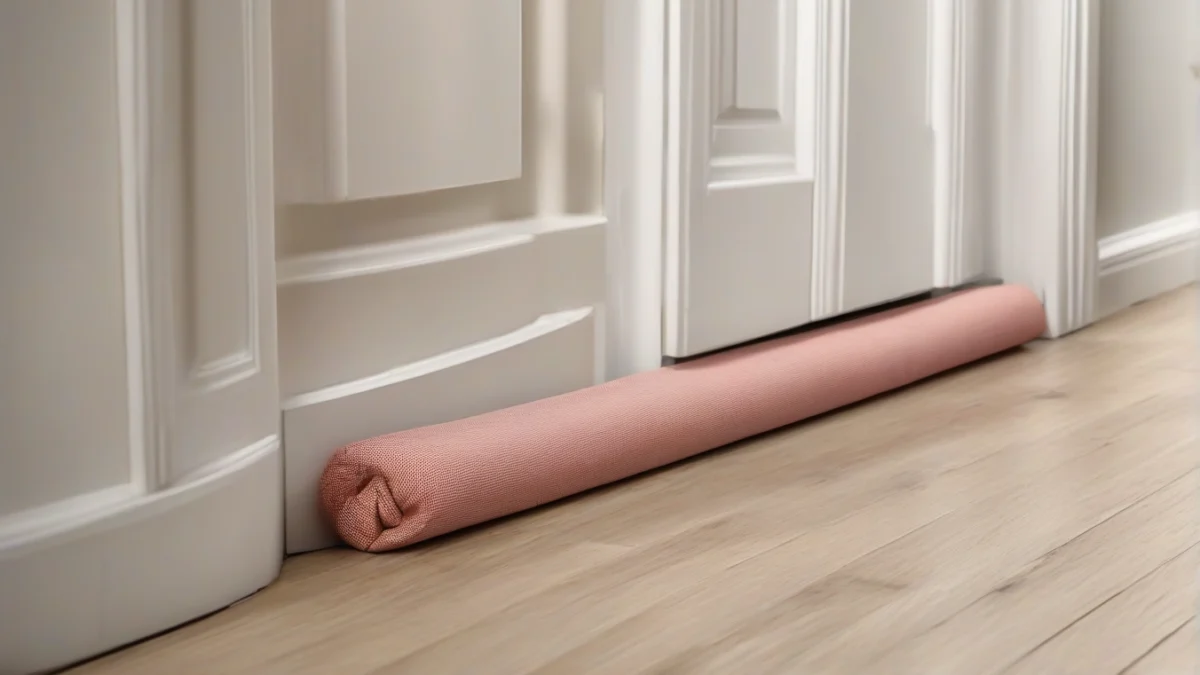
Start by checking common draught points: the bottom and sides of exterior doors, gaps around window frames, and cracks where walls meet floors or ceilings. Hallways in flats often have thin walls and poorly sealed doors that let cold air in and warm air out.
Effective materials include silicone door draft stoppers for under doors, adhesive-backed weatherstripping tape for window and door edges, foam or rubber sealant for cracks, and expanding foam for larger gaps. These materials block airflow and reduce heat loss.
- Step 1: Identify DraughtsOn a cold, windy day, move slowly along the hallway and feel around doors, windows, and skirting boards for cold air. Hold a lit candle or incense stick near edges; if the flame or smoke flickers, you found a draught.
- Step 2: Clean SurfacesBefore applying any sealant, clean door bottoms, frames, and window edges with rubbing alcohol or a mild detergent. Dry thoroughly to ensure adhesives stick properly.
- Step 3: Install Door Draft StopperMeasure the width of your door and cut the door draft stopper to size. Peel off the backing from the adhesive strip and press it firmly along the bottom edge of the door. Trim any excess to avoid obstruction.
- The Vellure® Door Draft Stopper installs in under a minute and blocks cold air and dust effectively at the door base.
- Step 4: Apply WeatherstrippingStick adhesive weatherstripping tape along window sashes and door frames where you detected airflow. Press firmly to secure and create an airtight seal.
- Step 5: Seal Cracks and GapsUse foam sealant or rubber strips to fill larger cracks near the floor or ceiling. Apply in small amounts and allow to expand and dry according to the product instructions.

Common Causes of Draughts in Hallways
To insulate a receptacle in a hallway, you need to check for gaps around its mounting box and seal with foam or putty designed for electrical use. This stops cold air sneaking through the wall cavity behind the outlet.
Radiators do not insulate in the usual sense but help reduce the feeling of cold by warming the air and surfaces nearby. Covering pipes and valves with insulation sleeves prevents heat loss, keeping the hallway warmer.
Thermal bridging happens when a material with high conductivity, like metal or uninsulated timber, passes through the building’s insulation layer. This creates cold spots where heat escapes faster, often around window frames, door edges, or structural beams in hallways.
Old windows and doors are common culprits for draughts. Single-glazed windows and poorly fitting timber doors let in cold air through cracks and gaps. Weatherstripping and draught excluders can reduce leaks, but replacing very old units with modern double-glazed windows and tight-fitting doors is the most effective.
Loft hatches in hallways are often overlooked. They can leak cold air if not sealed properly or insulated with a board and insulation material. Adding draught-proof strips around the hatch frame and insulating the hatch itself improves the hallway’s overall thermal performance.
Pipework that runs through or near the hallway can create draughts if gaps around pipes are not sealed. Filling these gaps with expanding foam or flexible sealant blocks cold air from entering through the wall or floor cavities.
Other less obvious sources include letterboxes, keyholes, and gaps around skirting boards or architraves. Each small opening adds up, so sealing these with appropriate materials is necessary for a draught-free hallway.
Addressing these common causes of draughts often requires a mix of sealing gaps, adding insulation, and sometimes upgrading old fixtures. A well-insulated hallway improves comfort and reduces heating costs.
DIY Installation Guide for Draught-Proofing
Start by sealing doors. Use self-adhesive foam or rubber strips around the frame to block gaps. Fit a door sweep at the bottom edge to stop cold air from coming in under the door. Check the door’s fit by closing it on a strip of paper; if you can pull the paper out easily, the seal is not tight enough.

For windows, apply weatherstripping tape around the sash or frame. This tape compresses when the window closes, blocking air leaks. For sash windows, consider fitting a secondary glazing panel or a draft-proofing brush along the meeting rails to reduce draughts.
Floors can let in cold air through gaps around skirting boards or where floorboards meet. Use flexible sealant or expanding foam to fill visible cracks. For larger gaps under doors or thresholds, a door draft excluder or threshold seal works well.
- Seal Door GapsMeasure the door frame and cut foam or rubber strips to length. Clean the frame surface thoroughly before applying the strips. Attach the door sweep at the bottom using screws or adhesive, ensuring it brushes the floor without restricting door movement.
- Weatherstrip WindowsClean the window frame and dry it completely. Apply weatherstripping tape evenly around the sash or frame edges. For sash windows, install draft-proofing brushes along the meeting rails to block air flow.
- Fill Floor CracksIdentify gaps by feeling for cold air or using a candle flame to see if the flame flickers. Apply sealant or expanding foam carefully, avoiding excess that could damage surfaces. Allow proper curing time as per the product instructions.
When insulating an extension, the same principles apply, but check for additional gaps where the extension meets the main building. Seal these junctions with suitable filler or foam. Insulating internal walls or adding insulation behind skirting boards can further reduce heat loss.
Should you insulate stairs? If you have an open stairwell leading from the hallway to upper floors, draughts can travel between levels. Installing stair riser insulation or using stair draft excluders can help, but be careful not to create fire hazards or block escape routes.
Choose draught-proofing materials based on the gap size and location. Foam strips suit narrow gaps around doors and windows. Brushes work best on sash windows. Expanding foam fills irregular or large cracks but is permanent and harder to remove.
If gaps are very large, structural issues exist, or you can’t reach certain areas safely, call a professional. They have tools and experience to handle complex problems and can advise on insulation upgrades that meet building regulations.
For narrow hallways or walls, consider efficient insulation materials that fit tight spaces without reducing room size. Combining draught-proofing with wall insulation creates a stronger barrier against heat loss. efficient insulation for narrow hallways walls
When to Call a Professional for Draught-Proofing
The best way to insulate a bungalow often involves a mix of DIY and professional work. If your hallway has complex structural issues, such as large gaps around window frames or doors, or if you suspect hidden damage like rotten wood or damp, call a professional. These problems require specialist tools and knowledge to fix properly.
For fast relief in a draughty living room, quick DIY fixes like sealing visible gaps can help, but a professional can provide a more thorough draught-proofing job that lasts. They can install weatherstripping, door sweeps, and high-quality seals that reduce air leaks beyond what typical DIY kits offer.
Professional draught-proofing costs vary widely. Basic services start around £150 to £300 for a hallway, rising if the job involves replacing doors or windows. The higher price covers expert assessment, materials, and installation that meet building standards.
The benefits of expert work include guaranteed sealing of all draught sources and improved energy efficiency. Professionals can also spot insulation gaps behind walls or floors and recommend additional measures like wall insulation or secondary glazing, which DIY usually cannot address.
Call a professional if you have persistent cold spots after DIY attempts, if you notice condensation or mould, or if your home has listed status requiring special care with materials. A pro can advise on the best insulation methods suited to your property’s age and construction.
Calculating Energy Savings from Draught-Proofing
Draught-proofing a hallway with open stairs can significantly reduce heat loss, making the whole area warmer and cutting heating bills. Insulating terraces is also important since exposed walls and floors can leak heat if not sealed properly.
| Appliance | Watts | Per hour | Per day (8 h) | Per month (30 days) |
|---|---|---|---|---|
| Typical hallway draught-proofing | 600 W | 10¢ | 82¢ | $24.48 |
| Heating to offset draughts without insulation | 1,500 W | 26¢ | $2.04 | $61.20 |
DIY draught-proofing usually costs under £50 for materials and can pay for itself in under a year through energy savings. Professional work costs more but can improve savings and comfort further.
Proper insulation keeps warm air inside by stopping cold air from entering. This reduces the workload on your heating system and keeps the temperature steady. You feel warmer at lower thermostat settings, which lowers energy use.
Open stairs in a hallway allow warm air to rise and escape upstairs quickly. Sealing gaps around staircases and insulating under stairs slows heat loss. Adding draught-proofing here improves overall warmth efficiently.
Terraces exposed to outside weather lose heat through walls and floors. Insulating terraces with suitable materials reduces this heat loss and helps keep the hallway and adjoining rooms warmer.
Frequently Asked Questions
What materials are best for draught-proofing a hallway?
How can I tell if my hallway has draughts?
What should I do if my front door is warped?
Can I insulate a hallway without professional help?
What are the benefits of using thermal curtains?
How much can I save on my energy bills with draught-proofing?
Before you buy anything, it is worth looking at heat retention for older homes.
If that sounds like your room, read up on insulating a victorian home next.