
Water heaters are essential for daily tasks, but neglecting maintenance can lead to costly repairs. The anode rod inside your water heater prevents corrosion, and knowing when to replace it is key to your unit’s lifespan.
How Often to Replace Your Water Heater Anode Rod
Replace your water heater anode rod every 3 to 5 years to prevent corrosion and extend the life of your tank. The exact interval depends on your water quality and usage.
Anode rods attract corrosive elements in the water, sacrificing themselves to protect the steel tank. If your water is hard or has high mineral content, the rod will corrode faster and need replacement closer to every 3 years. Softer or treated water can allow the rod to last 5 years or more.
Factors influencing replacement frequency include water pH, mineral levels, and water heater temperature settings. Higher temperatures speed corrosion, shortening anode rod life. Well water often contains more minerals than city water, increasing wear.
Regular inspections are essential. Check the rod annually for wear or depletion. Waiting until the rod is fully consumed risks tank corrosion, which usually means replacing the entire water heater.
Signs Your Anode Rod Needs Replacing
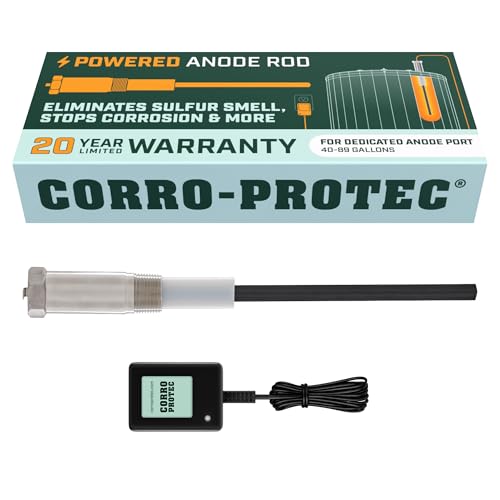
Key signs your anode rod needs replacing include visible corrosion on the rod, rusty water from taps, and a distinct sulfur or rotten egg smell.
- The anode rod appears heavily corroded or is less than half its original diameter.
- Water has a rusty or metallic tint, indicating tank corrosion may be starting.
- Water smells like sulfur or rotten eggs, a sign bacteria are reacting with the rod.
- Sediment buildup increases, reducing water heater efficiency and capacity.
Corrosion inside the tank often starts once the anode rod is depleted. You may notice leaks or rust stains around the water heater base or fittings.
Regularly inspecting the anode rod and recognizing these signs lets you extend the heater’s life and avoid unexpected breakdowns. For detailed inspection and replacement steps, see how to replace an anode rod in a water heater.
Step-by-Step Guide to Inspecting and Replacing the Anode Rod
You can replace the anode rod in your water heater yourself if you have basic plumbing skills and the right tools. Start by turning off the power or gas supply to the heater and shutting off the cold water supply. Drain a few gallons of water from the tank to lower the water level below the anode rod opening, usually located on top of the tank.
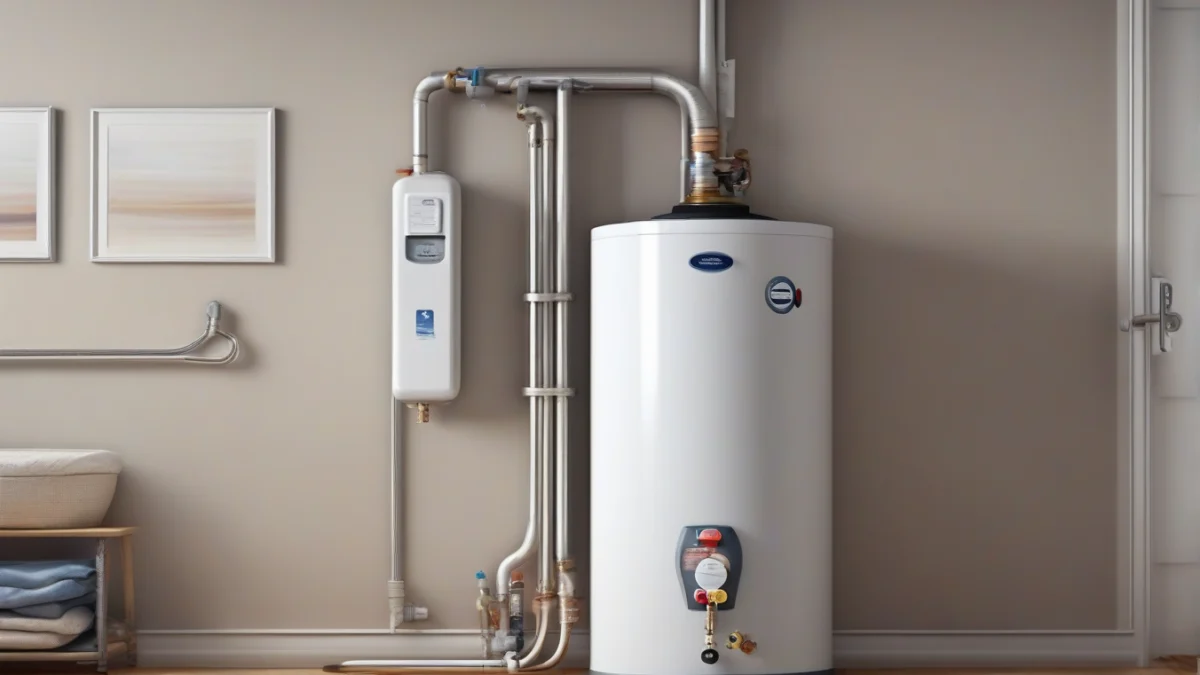
- Locate the anode rodFind the anode rod by checking the top of the water heater. It looks like a hex head bolt or a capped pipe fitting.
- Remove the rodUse a socket wrench with a breaker bar to loosen and remove the rod. It may be tight from corrosion, so applying penetrating oil beforehand helps.
- Inspect the rodLook for heavy corrosion, depletion of the rod’s metal, or if it’s less than 1/2 inch thick. These signs show it needs replacing.
- Install new rodInsert the new anode rod into the opening and tighten it securely with the wrench. Use plumber’s tape on the threads to prevent leaks.
- Refill and restore powerClose the drain valve, open the cold water supply, and refill the tank. Check for leaks before turning the power or gas back on.
How to Extend the Life of Your Water Heater
Maintaining your water heater properly can add years to its lifespan. Flush the tank annually to remove sediment buildup that reduces efficiency and causes corrosion.
- Flush the tank by attaching a hose to the drain valve and draining several gallons until the water runs clear.
- Check the thermostat setting and keep it at 120°F to prevent overheating and scalding.
- Test the pressure relief valve by lifting the lever and letting it snap back; it should release water and reseal properly.
- Insulate hot water pipes and the heater itself with approved insulation blankets or foam sleeves to reduce heat loss and save energy.
Cost of Anode Rod Replacement
Replacing an anode rod in a water heater involves the cost of the rod itself plus any labor. Doing the replacement yourself limits the expense to the rod and basic tools, while hiring a professional adds labor charges.
Rod material affects cost. Magnesium rods provide better corrosion protection in soft water but tend to cost more. Aluminum rods cost less but are less effective at preventing corrosion. Zinc rods, often combined with aluminum, offer a middle ground in both price and protection.
Professional service charges vary by region and complexity. If your water heater is in a tight space or the rod is corroded and hard to remove, labor costs rise. Expect higher fees if the tank needs draining or partial disassembly.
| Replacement Type | Cost Range |
|---|---|
| DIY anode rod only | Varies by rod type and source |
| Professional replacement (rod + labor) | Varies by labor and service provider |
Replacing the anode rod every 3 to 5 years helps prevent tank corrosion and extends the water heater’s life by several years. This routine maintenance avoids early tank failure that can lead to costly replacement. Choosing a quality rod and timely replacement protects your investment.
