Exposed brick walls have undeniable character. They tell a story of age and craftsmanship, creating a warm, industrial aesthetic that’s incredibly popular. But that charm often comes with a significant physical cost: thermal inefficiency. Brick is a poor insulator on its own, leading to rooms that are drafty in winter and stuffy in summer.
Insulating these walls is the smart solution, but it’s not as simple as slapping some fiberglass against the masonry. You’re dealing with historic materials, potential moisture, and the desire to preserve that sought-after look. This guide walks you through the proven methods, from quick fixes to full-scale builds, ensuring you make an informed choice for your space. For a project focused on adding a thermal break without major construction, many find a product like the SmartSHIELD -5mm 24 reflective insulation to be a helpful component in certain assemblies.
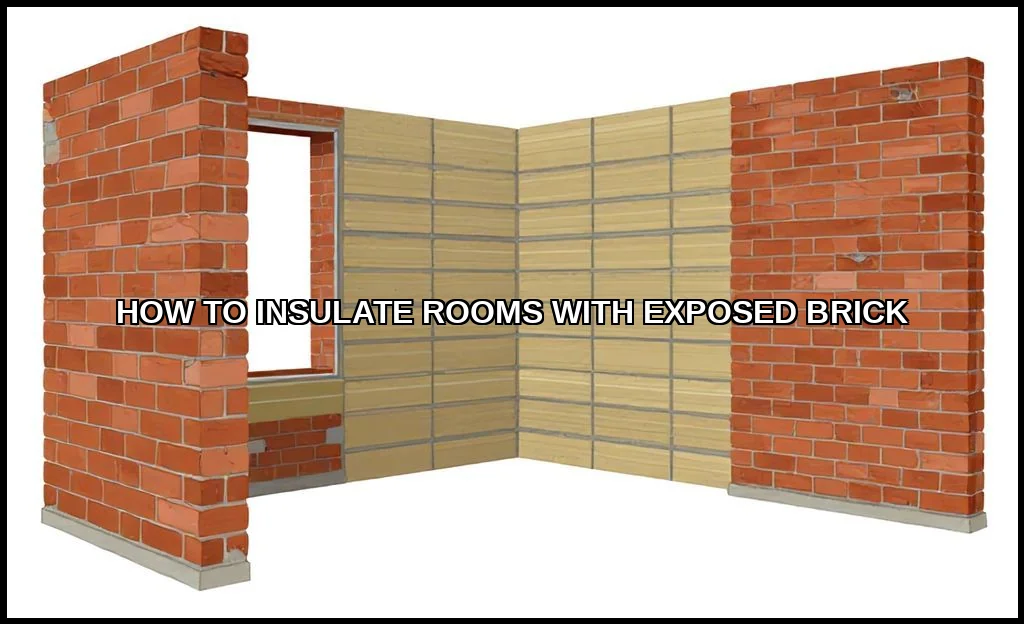
Why Insulate Exposed Brick Walls?
Beyond just comfort, proper insulating brick interior walls delivers tangible benefits. The primary goal is to install effective thermal insulation for brick to reduce energy bills. Uninsulated brick acts as a giant thermal bridge, constantly exchanging heat with the outside. You pay to heat or cool the great outdoors.
Insulating exposed brick walls stabilizes indoor temperatures and cuts heating and cooling costs. It also reduces condensation that can damage mortar and cause mold growth. For older homes, adding insulation is essential to improve comfort and protect the structure without covering up the brick’s character. We cover preventing heat loss through floors in its own guide.
Pre-Installation: The Essential Inspection & Moisture Check
Never skip this step. Installing exposed brick wall insulation blindly is a recipe for disaster. Old brick is meant to breathe. Trapping moisture inside the wall assembly is the biggest risk.
Start with a thorough visual inspection. Look for:
- Efflorescence (white, powdery salt deposits)
- Spalling (flaking or crumbling brick)
- Damp patches or mold growth
- Cracked or deteriorating mortar joints
Use a moisture meter to check brick walls before insulating. If moisture levels are high, this usually means water is entering from outside and must be fixed first. Installing insulation directly against damp brick traps moisture, causing damage. Only insulate dry walls or after solving water issues to avoid mold and decay.
Method 1: Build a Stud Wall with Batt Insulation
This is the most common and versatile approach for a full renovation. It involves constructing a new, non-structural wall in front of the brick, creating a cavity for thick insulation. It’s often considered the best insulation for brick rooms when maximizing R-value is the priority.
Step-by-Step Process
- Frame the Wall: Attach pressure-treated bottom and top plates to the floor and ceiling. Then, secure vertical studs (usually 2x4s) every 16 or 24 inches on center. Use shims to ensure the frame is perfectly plumb, as brick walls are rarely flat.
- Address Thermal Bridging: Here’s a pro tip. The wood studs themselves can conduct heat, creating minor thermal bridges. Some builders add a thin layer of continuous rigid foam (like 1/2″) behind the entire stud frame before installing batt insulation between the studs. This breaks the bridge significantly.
- Install Insulation: Place fiberglass or mineral wool batt insulation snugly between the studs. Ensure it’s not compressed, as that reduces its effectiveness.
- Install a Vapor Barrier: This is a critical and debated step. In most cold climates, a polyethylene sheet (6-mil plastic) is installed on the warm-in-winter side of the insulation (facing the room). It prevents warm, moist indoor air from penetrating the cold wall and condensing. However, in mixed or humid climates, consult an official source for specific guidance, as a vapor barrier in the wrong place can trap moisture.
- Finish with Drywall: Secure drywall over the studs and vapor barrier. Now you have a blank canvas for paint, wallpaper, or other finishes.
This method offers the highest R-value and allows for easy installation of electrical wiring and outlets. The trade-off? You completely cover the brick. For more on framing techniques in tricky spaces, our guide on insulating loft bedrooms has relevant tips.
Method 2: Apply Rigid Foam Insulation Directly
This method is excellent for those who want to preserve some of the brick’s texture or minimize space loss. It involves adhering sheets of rigid foam board directly to the cleaned, dry brick surface.
Materials and Considerations
Use foam boards like extruded polystyrene (XPS) or polyisocyanurate (polyiso). They have high R-values per inch and resist moisture. Never use interior-type foam like EPS beadboard directly against masonry. It helps to understand keeping basement conversions warm before spending anything.
- Adhesion: Use a specialty foam board adhesive in a continuous pattern or large globs. Mechanical fasteners (like special masonry screws with large washers) are often used in combination for a secure hold.
- Sealing: All seams between boards must be sealed with compatible foam board tape or caulk. This creates a continuous thermal and air barrier.
- Furring Strips: Once the foam is up, you must attach furring strips (1×3 or 2×3 wood) through the foam and into the brick with long masonry screws. These strips provide a nailing surface for your final wall covering, like drywall or wood paneling.
This method raises a common question: does insulating exposed brick cause moisture problems? With rigid foam, the foam itself becomes a vapor-retarder. If the brick behind it is wet, that moisture is trapped. Hence, the pre-inspection is non-negotiable. It’s a fantastic solution for dry walls where you want to reduce heat loss brick walls experience with minimal bulk.
Finishing: Drywall, Vapor Barriers & Aesthetics
Your finishing choice depends on the insulation method and your desired look.
- For Stud Walls: Standard drywall is typical. For a more authentic feel, you could use shiplap or beadboard paneling.
- For Direct Foam: Drywall is screwed to the furring strips. For a truly minimalist look that hints at the brick, some install thin wood slats or plaster directly over a specialized mesh attached to the furring strips.
Remember the vapor barrier placement. In a stud wall with batt insulation, it goes between the insulation and drywall. With the direct foam method, the foam itself often provides sufficient vapor resistance; adding another plastic sheet could be problematic. When planning your project, consider how you’ll ultimately keep the room warm efficiently, as insulation is just one part of the thermal envelope.
Cost Considerations & Quick Fixes
Costs vary wildly. A DIY brick wall insulation project using the stud wall method might cost $1.50-$2.50 per square foot for materials. Hiring a professional can double or triple that. The direct foam method can be more expensive per square foot due to the cost of the foam boards and specialized fasteners.
For budget-friendly insulation of brick walls, consider temporary fixes like thermal curtains, draft stoppers, or insulating panels that attach to walls without major construction. These reduce heat loss but don’t replace full insulation. They suit renters or those who need quick relief but won’t fully stop drafts or cold spots.
- Heavy thermal curtains over the brick.
- Strategically placed bookshelves or large tapestries to create a dead air space.
- Applying a thin, radiant barrier like reflective foil insulation (which works best with an air gap) can help slightly. This is where a product like the SmartSHIELD -5mm 24 might be considered for a low-profile thermal break in certain scenarios, though it’s not a substitute for proper cavity insulation.
These are band-aids. They won’t match the performance of a built assembly but can take the edge off for renters or those on a tight budget.
Navigating Challenges in Old Buildings
Old brick walls need careful insulation because they were built to breathe. Lime mortar and no cavity allow moisture to pass through and evaporate. Modern sealants or paints trap moisture, increasing risk of damage if insulation is added inside. Use vapor-open materials and avoid airtight barriers to maintain moisture balance and protect the wall.
The key principle is “hygric buffering.” If you add insulation inside, the wall assembly must still manage moisture. This often means using insulation that is vapor-open (like mineral wool) and avoiding interior vapor barriers in favor of “smart” vapor retarders that allow some drying. It’s nuanced work. Consulting a specialist familiar with historic masonry is a wise investment.
Transforming a drafty brick room into a cozy, efficient space is entirely achievable. The path you choosea full stud wall, direct foam application, or a temporary fixdepends on your budget, skill level, and how much of the brick you’re willing to sacrifice. Always start with the moisture check. Understand the role of a vapor barrier in your climate. And remember, the goal is to enhance the room’s comfort while respecting the building’s history. With careful planning, you can have both character and coziness.