
Insulating a basement conversion is essential for transforming it into a comfortable living space. Without proper insulation, you risk dealing with cold temperatures and moisture issues that can lead to mold and structural damage.
How to Insulate a Basement Conversion Correctly
Basements are cold mainly because they sit below ground level where the soil temperature stays low year-round and moisture seeps in. To insulate a basement conversion correctly, start by identifying and fixing moisture issues, then choose rigid foam insulation to block heat loss and install it with a tight vapor barrier and air seal.
Basements lose heat through concrete walls and floors that conduct cold from the earth. Insulating on the inside with rigid foam or spray foam cuts this heat transfer. Fiberglass batts alone don’t stop moisture or air leaks, so they’re not enough for basements.
Before insulation, check for damp spots, leaks, or condensation on walls and floors. Fix drainage, seal cracks, and install a sump pump or dehumidifier if needed. Moisture problems cause mold and ruin insulation performance.
For basement extensions, insulation is similar but pay extra attention to sealing between old and new concrete and framing. Use continuous rigid foam on walls and under slab edges to keep heat in and moisture out.
To warm a poorly insulated basement, add insulation and a vapor barrier to walls and floors, seal vents and gaps, and use a heater designed for basements. This reduces heat loss and controls humidity.
- Identify Moisture IssuesLook for water stains, mold, or damp smells. Test walls with a moisture meter if available. Fix any leaks or drainage problems before insulating.
- Choose Insulation MaterialsUse rigid foam board like extruded polystyrene (XPS) or polyisocyanurate for walls. Add spray foam to seal gaps. Avoid fiberglass batts alone.
- Prepare SurfacesClean and dry walls thoroughly. Seal cracks and gaps with hydraulic cement or spray foam.
- Install InsulationAttach rigid foam directly to walls with mechanical fasteners or adhesive. Tape seams with waterproof tape. Add a vapor barrier on the warm side if local code requires it.
- Seal and FinishSeal around windows, pipes, and rim joists with spray foam or caulk. Frame walls over insulation if desired, leaving space for electrical wiring and drywall.
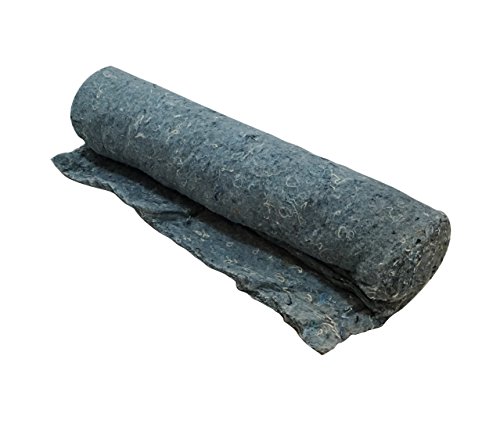
Basements are cold because concrete walls and floors conduct heat away, and moisture worsens the problem by cooling surfaces and damaging insulation. Insulating correctly means controlling moisture, choosing materials that block heat and vapor, and sealing air leaks properly. This approach creates a warm, dry, and comfortable basement living space.
For more ways to warm a poorly insulated basement, see how to warm a poorly insulated basement.
Common Causes of Cold and Damp Basements
Basements feel cold because they sit below ground level where the soil temperature remains cool year-round, usually around 50 to 60°F. This steady temperature pulls heat from the basement walls and floor. Unlike above-ground rooms, basements lose heat through direct contact with cold soil and concrete, which act as heat sinks.
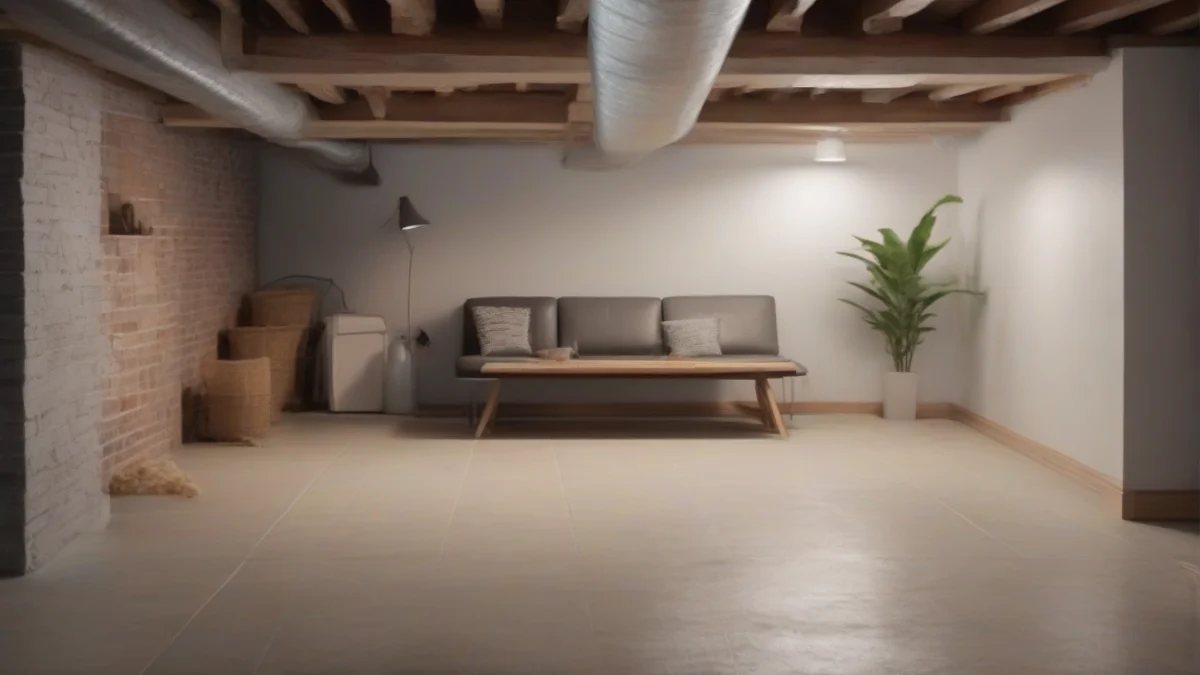
Heating a basement with radiators or baseboard heaters helps but does not insulate the space. Radiators warm the air but do not stop heat from escaping through walls and floors. Without proper insulation, the heat quickly transfers out, leaving the room chilly despite the heater running.
Moisture is a major problem in basements. Water seeps through cracks in walls and floors or enters from the ground. This dampness lowers indoor air temperature and can cause mold and mildew. Common moisture sources include poor exterior drainage, clogged gutters, and high water tables.
Proper drainage around the foundation is critical to keep basements dry and warm. Gutters must direct water at least 6 feet away from the house. Exterior grading should slope away from the foundation to prevent water pooling. Interior drainage systems or sump pumps may be needed in wet areas.
Heat loss occurs mainly through basement walls, floors, and rim joists. Concrete walls and slabs conduct heat rapidly. Without a vapor barrier and insulation, warm indoor air meets cold surfaces, causing condensation and increasing dampness.
Addressing these issues requires sealing cracks, installing a vapor barrier, and insulating with rigid foam or spray foam to block heat flow and moisture. These steps reduce thermal bridging and prevent water intrusion, making the basement warmer and healthier.
Step-by-Step Insulation Process
- Inspect and Prepare the FoundationStart by checking for cracks, leaks, or signs of moisture on the foundation walls and floor. Seal any gaps with hydraulic cement or masonry sealant to prevent water intrusion. Clean the surface thoroughly and let it dry before applying insulation.
- Install Rigid Foam InsulationAttach rigid foam panels directly to the foundation walls using adhesive or mechanical fasteners. Use extruded polystyrene (XPS) or polyisocyanurate foam for moisture resistance and thermal efficiency. Overlap seams and seal edges with foam-compatible tape or spray foam to create a continuous thermal barrier.
- Build a Stud Wall for Additional InsulationConstruct a wood or metal stud frame about 1 inch away from the foam insulation to allow for air circulation and wiring. Fill the cavity with insulation like fiberglass batts or natural cotton insulation for added R-value and soundproofing. Cover the wall with drywall or other finishing materials suitable for basements.
- Insulating an Extension or a WardrobeFor insulating an extension, follow the same foundation preparation and rigid foam installation steps, adjusting panel sizes to fit the new wall dimensions. When insulating a wardrobe, cut rigid foam or batt insulation to fit inside the framing, ensuring no gaps. Use the Frost King CF1 cotton insulation for easy fitting and noise dampening inside wardrobes and small spaces.
Vapor Barrier and Moisture Management
Moisture control is essential when insulating a basement conversion. Without it, insulation materials can trap dampness, leading to mold and structural damage.
A vapor barrier is a material that prevents moisture from passing through walls and ceilings. Place it on the warm side of the insulation—usually the interior side—to stop indoor humidity from reaching cold surfaces where it condenses.
Rigid foam insulation often acts as its own vapor barrier, so you may not need a separate layer. If you use fiberglass or mineral wool, add a polyethylene sheet or foil-faced barrier to keep moisture out.
Signs of poor moisture management include musty smells, visible mold, peeling paint, and damp spots on walls or floors. Address these immediately to avoid health risks and costly repairs.
Insulating basement stairs depends on their use. If stairs lead to a heated area, insulate them to prevent cold air transfer. Use rigid foam or batt insulation covered with drywall to meet fire codes.
Electrical receptacles in basement walls need to be insulated carefully. Use foam gaskets behind outlet covers to reduce air leaks. Seal gaps around boxes with spray foam or caulk before installing the vapor barrier.
Budgeting for Your Basement Insulation Project
Costs vary widely depending on insulation type and basement size. Rigid foam boards generally cost more than fiberglass batts but offer better moisture resistance and higher R-values.
Spray foam insulation costs more but combines insulation and air sealing, which can reduce long-term energy bills by preventing drafts and moisture intrusion.
Consider the long-term savings of better insulation. Spending more upfront on rigid foam or spray foam can cut heating costs significantly by reducing heat loss through walls and floors.
Additional expenses include vapor barriers, drywall, sealants, and labor if you hire professionals. Budget for these to avoid surprises.
The best way to insulate a bungalow or hallway is with continuous rigid foam on the exterior or interior walls to create a thermal envelope without gaps.
| Appliance | Watts | Per hour | Per day (8 h) | Per month (30 days) |
|---|---|---|---|---|
| Rigid foam board insulation | 1,500 W | 26¢ | $2.04 | $61.20 |
| Fiberglass batt insulation | 1,500 W | 26¢ | $2.04 | $61.20 |
Insulating hallways requires attention to air sealing around doors and vents to prevent cold drafts. Use foam gaskets and weatherstripping alongside insulation.
Balance your budget by prioritizing materials that offer both insulation and moisture control, especially in damp basement conditions. This approach reduces future repair costs and improves comfort.
Frequently Asked Questions
What is the best insulation material for a basement?
How do I prevent mold in my basement after insulation?
Can I insulate a basement myself?
What is the R-value needed for basement insulation?
How do I know if my basement is damp?
What are the signs that I need to replace my basement insulation?
We cover preventing heat loss through floors in its own guide.
We go through why is my flat so cold step by step in a separate article. We cover effective tips for basement warmth in its own guide.
