
A frozen bird bath can be a significant problem for birds during winter. They rely on accessible water for hydration and feather maintenance, making it essential to keep your bird bath ice-free.
How to Winterize a Bird Bath
To winterize a bird bath and keep it from freezing, combine an electric heater designed for bird baths with proper insulation and water movement techniques. This approach ensures the water stays liquid and accessible to birds through cold weather.
Keeping a bird bath ice-free during winter is important because birds need fresh water year-round for drinking and bathing. Frozen water cuts off this vital resource just when natural sources may be scarce.
Start by using an electric bird bath heater. These heaters plug into a standard outdoor-rated outlet and keep the water just above freezing. Choose a model with built-in safety features like automatic shut-off and waterproof housing to prevent electric shock or fire risks.
Next, insulate the bird bath to reduce heat loss. Wrap the outside of the basin with foam insulation or bubble wrap secured with waterproof tape. This slows the cooling of water, reducing energy use of the heater and helping keep water from freezing even during power outages or extreme cold.
Water movement also delays freezing. Adding a small solar-powered fountain or water agitator creates surface motion that resists ice formation. This method alone may not prevent freezing in very cold climates but works well combined with heating and insulation.
- Choose a bird bath heaterSelect a heater rated for your bird bath size and outdoor conditions with safety certifications.
- Install heater according to instructionsPlace the heater in the water and plug into a weatherproof outlet with a ground-fault circuit interrupter (GFCI).
- Insulate the bird bathWrap the exterior with foam or bubble wrap, securing with waterproof tape to hold insulation in place.
- Add water movement if possibleUse a solar-powered fountain or agitator to keep water circulating and resist ice buildup.
- Check the setup dailyEnsure the heater is working, cords are dry, and water is clear of ice and debris.
Using Electric Bird Bath Heaters
Electric bird bath heaters come in two main types: battery operated and plug-in models. Battery powered bird bath heaters use rechargeable or replaceable batteries to provide heat without needing an outlet. They are portable and easy to install but usually provide less heat and run time than electric models that plug into a power source.
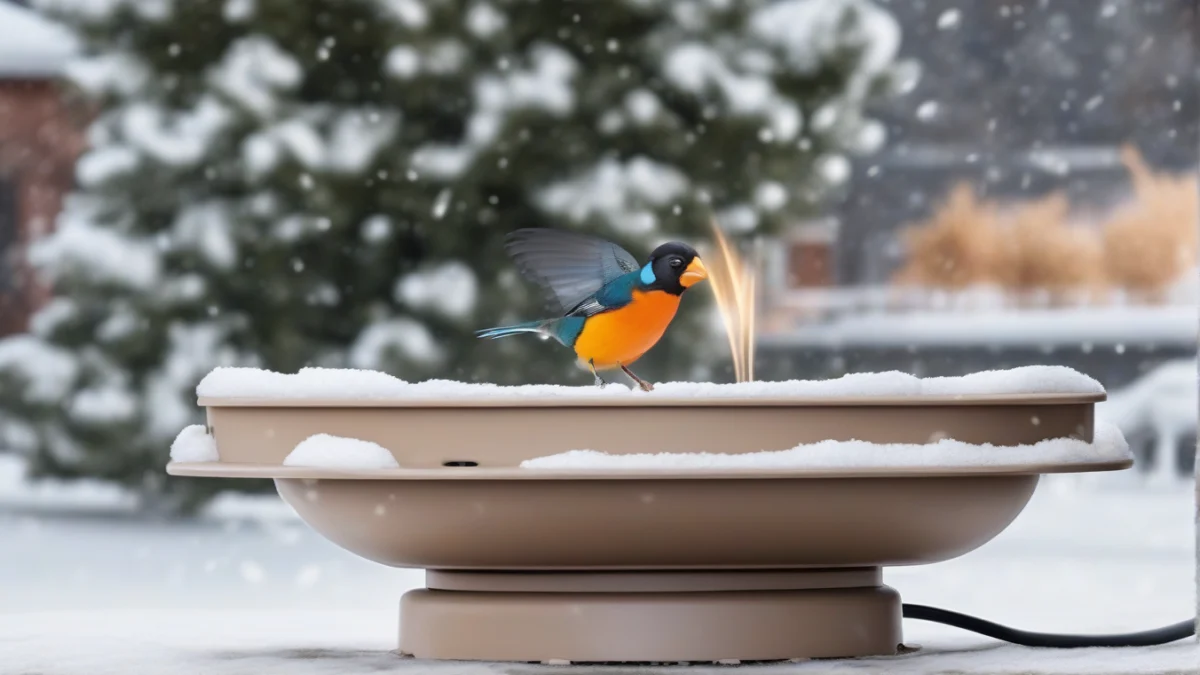
Plug-in electric heaters connect to outdoor-rated outlets and deliver continuous heat. They often include thermostats to turn off once the water reaches a set temperature, saving energy and preventing overheating. Both types usually have waterproof casings and built-in safety features like automatic shut-off if tipped or exposed to air.
Choose a battery powered bird bath heater for locations without easy access to power or for smaller baths that need occasional warming. Pick a plug-in model for larger baths or areas where freezing is severe and continuous heat is needed. Battery models typically last 8 to 12 hours per charge, while plug-in heaters operate as long as they are connected and switched on.
- Install the Heater CorrectlyPlace the heater in the water following the manufacturer’s guidelines. Ensure it is fully submerged if required and that the cord is safely routed to avoid tripping or damage.
- Monitor Battery LevelsFor battery powered heaters, check battery charge regularly to maintain consistent heating. Recharge or replace batteries before they run out during freezing weather.
- Use a Thermostat FeatureIf available, set the thermostat to maintain water just above freezing. This reduces energy use and prevents water from overheating or evaporating quickly.
DIY Insulation Techniques for Bird Baths
Insulating the bird bath for winter can reduce heat loss and delay freezing without electricity. Bubble wrap is a popular material because it traps air and provides an effective barrier. Wrap the outside of the bath’s basin and secure it with waterproof tape or string to create an insulating layer.
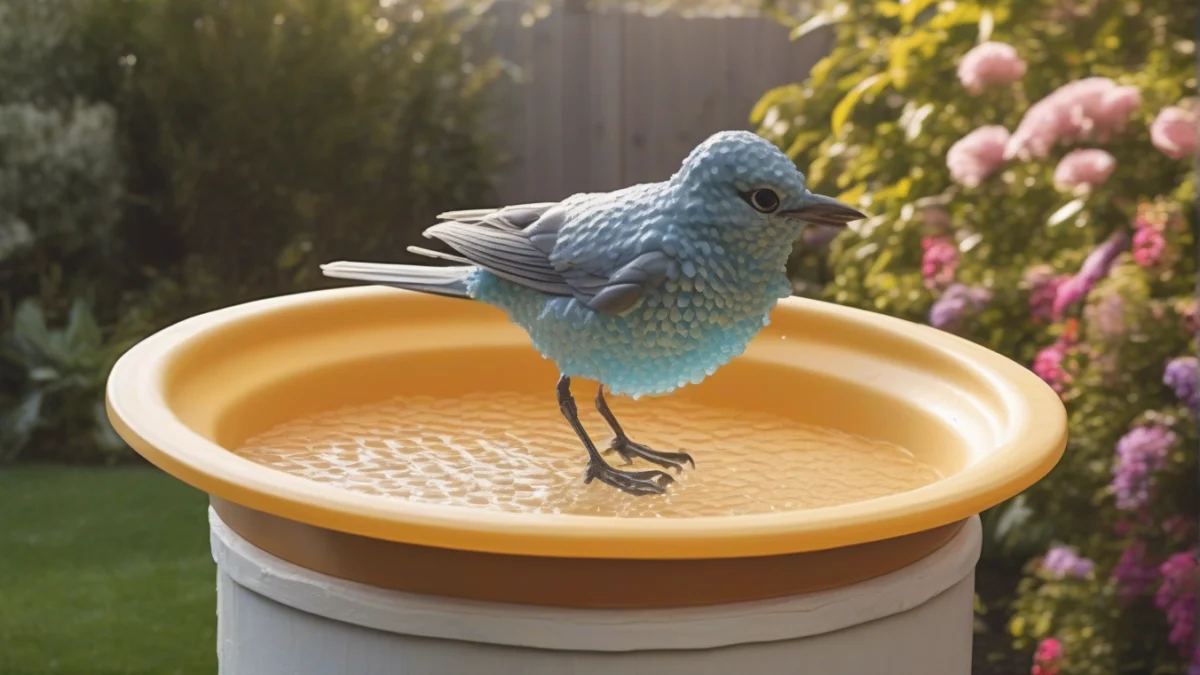
Insulating skirts made from foam or thick fabric fit around the pedestal or base of the bird bath. They block cold air from reaching the water and reduce heat loss through the bath’s support. Covers made from rigid foam or insulated fabric placed over the bath during the coldest hours can also help retain heat.
Lining the bath basin with materials such as dark-colored plastic or rubber mats absorbs sunlight and helps retain heat during the day. Avoid materials that absorb water and freeze. The lining should be snug to avoid gaps where cold air can seep in.
- Wrap the Basin with Bubble WrapCut bubble wrap to size and cover the entire outside of the basin. Secure edges tightly to prevent wind from getting underneath.
- Add an Insulating SkirtFit foam or fabric skirts around the pedestal and fasten them securely. Check for gaps where cold air might enter.
- Use a Bath LinerPlace a dark mat or plastic liner inside the basin before adding water. This increases heat absorption from sunlight and slows freezing.
- Cover at NightPlace an insulated cover over the bird bath during the coldest periods to trap heat. Remove the cover during the day to allow birds access and sunlight exposure.
Promoting Water Movement to Delay Freezing
Moving water freezes more slowly than still water because the motion disrupts ice crystal formation. In a bird bath, keeping water in motion can delay freezing during cold weather.
One simple method is to place lightweight floating objects like ping pong balls on the water surface. These create small ripples as they move with the wind, breaking up ice formation and reducing surface freezing.
Solar-powered pumps are another option. They circulate water continuously during daylight hours without extra wiring or electricity costs. These pumps are quiet and designed for outdoor use, making them safe for bird baths.
- Place Floating ObjectsAdd several ping pong balls or similar lightweight floats to your bird bath to keep the water surface moving.
- Install a Solar PumpChoose a solar-powered pump rated for outdoor water features and place it in the bath to circulate water during the day.
- Check Water LevelEnsure the water level stays high enough for the pump or floating objects to function properly.
Daily Maintenance Tips for Bird Baths
Check your bird bath every day during freezing weather to remove ice and refill with fresh water. This keeps the water safe and accessible for birds.
Position the bird bath in a sunny spot if possible. Sunlight helps naturally warm the water and slows ice formation.
Manually break thin ice with a gentle tap or use warm water to melt ice buildup. Avoid harsh tools that can damage the bath surface.
Winterize brick weep holes by clearing debris and ensuring they drain properly. This prevents water from freezing inside and causing brick damage.
- Daily Ice RemovalUse a spatula or plastic scraper to gently remove ice each morning if present.
- Refill with Fresh WaterTop off the bird bath with fresh water daily to replace any lost to evaporation or ice.
- Clear Weep HolesInspect brick weep holes for blockages and clear them to maintain drainage.
- Adjust PlacementMove the bird bath to a sunnier location if ice forms quickly.
