
A loft hatch is often an overlooked area in your home that can lead to significant heat loss. If not properly sealed and insulated, it can allow cold air to enter your living space, making your home less comfortable and increasing your energy bills.
How to Insulate Your Loft Hatch and Stop Draughts
To insulate your loft hatch and stop draughts, seal all gaps around the frame with weatherstripping or foam, then attach rigid insulation board to the hatch door itself. A properly sealed and insulated loft hatch stops cold air dropping into the room below and prevents warm air escaping into the loft.

The best materials for a loft hatch door are 25 mm to 50 mm rigid foam board or a purpose-made insulated loft hatch cover with built-in draught seals. Rigid foam cuts cleanly, stays in place, and adds minimal weight. Avoid thick mineral wool rolls on a hatch door; they compress under their own weight and leave gaps at the edges.
- Find the DraughtsClose the hatch and run your hand slowly around the edge. Mark any spots where you feel cold air. Check all four sides and the corners.
- Seal the FrameStick self-adhesive foam weatherstripping or rubber seal around the hatch frame where the door sits when closed. Press firmly and ensure no gaps at the corners. For irregular gaps wider than 5 mm, fill with expanding foam first, let it cure, then trim flush before adding weatherstripping.
- Measure and Cut InsulationMeasure the underside of the hatch door. Cut rigid foam board 5 mm smaller on each edge so it does not foul the frame when closing. A craft knife and straight edge are enough.
- Fix Insulation to the DoorUse foam-safe adhesive or panel screws with wide washers to attach the insulation board to the hatch underside. Do not compress the board. Keep fixings 50 mm from the edges to avoid splitting.
- Add a Protective LayerScrew a sheet of thin plywood or hardboard over the insulation to protect it and allow safe handling. This also keeps the insulation flat if the hatch is used frequently.
- Test the SealClose the hatch and check it sits flush. Open and close it five times to confirm the added thickness does not bind or damage the frame.
Sealing gaps matters as much as insulation thickness. A hatch with 50 mm of foam but a 2 mm air gap around the edge will still lose heat. Weatherstripping compresses to fill the gap when the hatch closes, stopping air movement. Check the seal each autumn; foam tape degrades after two to three years and needs replacing.
An insulated and sealed loft hatch can cut heat loss through the hatch opening by 80% or more, according to building energy assessments. The job takes 30 to 60 minutes with a tape measure, craft knife, adhesive and weatherstripping. Basic DIY tools are enough. For comprehensive draught-proofing across your home, see how to stop draughts in old UK houses.
If you are choosing a ready-made solution rather than DIY, best loft hatch insulation covers tested products with built-in seals and measured thermal performance.
Understanding the Importance of Loft Hatch Insulation
A loft hatch is a hidden weak spot for heat loss in most homes. It creates a thermal bridge where warm air escapes and cold air enters, raising heating bills.
Thermal bridging happens when a less-insulated part of the building envelope bypasses the main insulation layer. The loft hatch frame and door are often thinner and less insulated than walls or ceilings, so heat passes through more easily there.
Uninsulated loft hatches can increase heat loss by up to 10% or more in a typical home. Heat rises naturally, so warm air flows upward and escapes through the hatch if it is poorly sealed or lacks insulation. This forces your heating system to work harder, costing more energy.
Adding insulation to the loft hatch reduces heat transfer by creating a thicker barrier between your warm living space and the colder loft. Insulation materials trap air, slowing heat loss through conduction and convection.
Sealing gaps around the hatch frame also stops cold air draughts, which otherwise cause sudden heat loss and uneven room temperatures. Together, sealing and insulating the hatch improve overall energy efficiency and comfort.
Lower heat loss means your heating system runs less often. This directly cuts your energy bills. For example, saving just 10% on heating can reduce monthly costs by several dollars, depending on your fuel rates and usage.
In short, loft hatch insulation is a small upgrade with a big impact. It prevents thermal bridging, stops draughts, and reduces heating costs by keeping warm air inside your home where it belongs.
Choosing the Right Insulation Materials
The best material for a loft hatch door combines thermal resistance, moisture tolerance, and a way to seal edges completely. Rigid foam board is the most effective choice for most hatches. It delivers high insulation per inch, resists moisture, and cuts cleanly to fit the hatch panel.
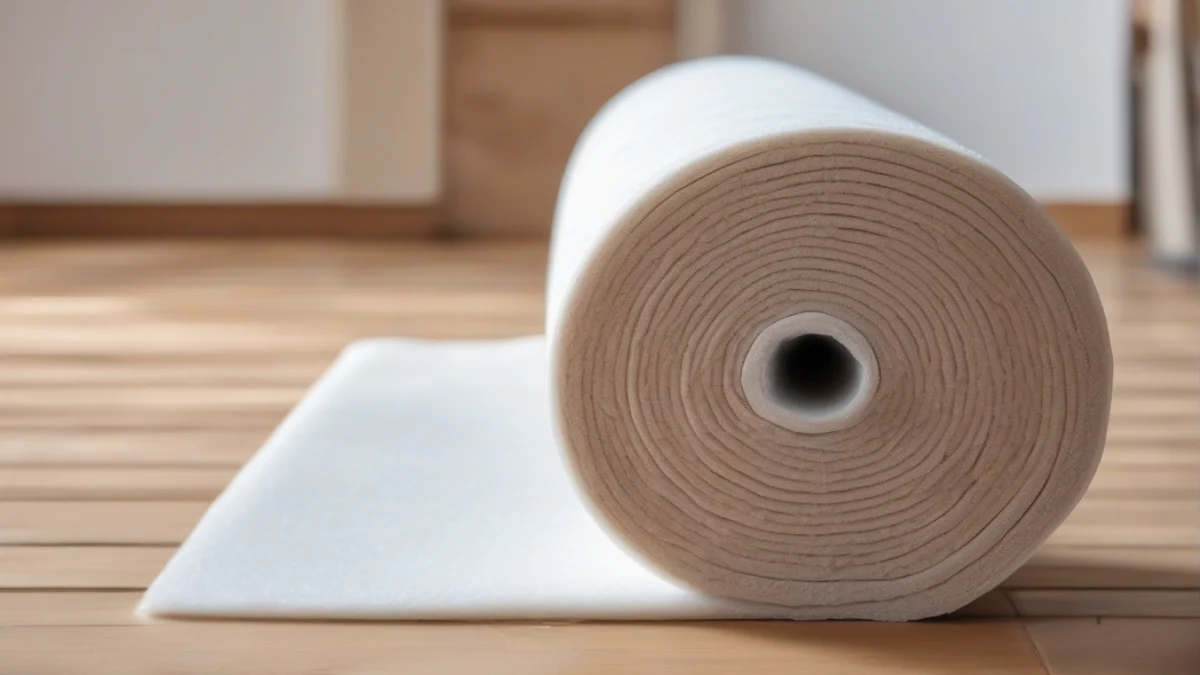
Three materials dominate loft hatch insulation: rigid foam board, insulation rolls or batts, and pre-made insulated covers. Each suits different hatch types and budgets.
Rigid Foam Board
Rigid foam board gives R-5 to R-7 per inch, the highest thermal resistance of the common options. Polyisocyanurate (polyiso) foam performs best, followed by extruded polystyrene (XPS) and expanded polystyrene (EPS). Cut the board to match the hatch panel size with a utility knife, attach it with construction adhesive, and seal every edge with foil tape or foam sealant to block air gaps.
This method suits a timber or plywood hatch panel that you can access from above. The rigid surface protects the insulation and adds no flexibility issues. Foam board does not absorb moisture, so it works in damp lofts without degrading.
Insulation Rolls or Batts
Fiberglass or mineral wool rolls deliver R-3 to R-4 per inch and cost less than foam board. They flex to fit irregular hatch shapes, but you must cover them with a rigid board or plywood to prevent compression and damage. Without a cover, the insulation compresses and loses effectiveness, especially if anyone steps on the hatch from above.
Add at least 3 inches of roll insulation to approach the performance of loft floor insulation, which is typically 10 to 12 inches. The extra thickness adds weight, so check that the hatch hinges and frame can support it. If the hatch sags or binds, reinforce the panel with a second layer of plywood before adding insulation.
Pre-Made Insulated Loft Hatch Covers
Pre-made covers combine rigid foam insulation with an integral draught seal and clip or screw onto the hatch frame. They deliver R-4 to R-6 and install in minutes. Measure your hatch opening precisely before buying; most covers fit standard UK hatch sizes of 562 mm × 726 mm or 600 mm × 600 mm, but custom sizes exist. A cover that does not fit snugly leaves gaps and wastes the investment.
This option costs more than foam board alone but saves time and guarantees a neat finish. It suits hatches you open frequently or when you want a reversible solution. For recommendations, see our guide to the best loft hatch insulation.
| Material | R-Value per Inch | Best For | Drawback |
|---|---|---|---|
| Rigid foam board (polyiso, XPS, EPS) | R-5 to R-7 | Highest thermal performance; moisture-resistant; fits flat panels | Requires careful edge sealing; rigid, not flexible |
| Fiberglass or mineral wool rolls | R-3 to R-4 | Lower cost; flexible for irregular hatches | Needs rigid cover; compresses easily; thicker for same R-value |
| Pre-made insulated cover | R-4 to R-6 | Fast install; built-in seal; neat appearance | Higher cost; limited sizes; may not fit non-standard hatches |
Sealing the Hatch Edges
Insulation stops radiant and conductive heat loss; sealing stops convective loss from air leaks. A hatch with 2 inches of foam but no edge seal loses nearly as much heat as an uninsulated hatch. Apply self-adhesive foam draught strip or silicone seal around the hatch frame where the panel closes. The seal should compress slightly when the hatch shuts, forming a continuous barrier.
Check for gaps between the hatch frame and the ceiling plaster. Fill these with expanding foam or caulk before adding insulation to the panel. Many stop draughts in old UK houses techniques apply to loft hatches, especially around frames that have shrunk or shifted over time.
Maintaining Your Loft Hatch Insulation
Regular maintenance keeps your loft hatch insulation effective and your home warm. Check the hatch at least once a year, especially before winter. Early detection of damage or wear prevents heat loss and higher energy bills.
- Check for Gaps and CracksLook around the hatch frame for any gaps or cracks that let cold air in. Use a flashlight to spot drafts or light shining through the edges.
- Inspect the Insulation MaterialExamine the insulation on the hatch door. If it’s compressed, damp, or falling apart, it needs replacing to maintain thermal resistance.
- Renewing Loft Hatch Door InsulationRemove the hatch door carefully. Peel off old insulation and clean the surface. Attach new insulation panels or rolls cut to size using adhesive or double-sided tape. Use materials like foam board or reflective foil insulation for best results.
- Reinstall the Hatch DoorFit the hatch door back securely. Ensure it closes tightly against the frame to maintain the seal.
- Fitting Insulation Through the Loft HatchIf you need to insulate the loft floor beyond the hatch, carry insulation rolls or batts through the hatch opening. Wear protective gloves and a mask, and avoid compressing the insulation to keep its effectiveness.
Cost of Insulating a Loft Hatch
Insulating a loft hatch saves money by reducing heat loss and lowering heating bills. The initial cost is low, especially for a DIY project, and the savings add up quickly.
The most affordable DIY method is sealing gaps with foam tape and adding insulation panels or rolls directly to the hatch door. Materials usually cost a modest amount upfront. This one-time step can reduce heat loss by up to 15%, depending on your home.
| Appliance | Watts | Per hour | Per day (8 h) | Per month (30 days) |
|---|---|---|---|---|
| Heat lost through uninsulated loft hatch (approxim | 300 W | 5.1¢ | 41¢ | $12.24 |
For example, if an uninsulated loft hatch lets through 300 watts of heat loss, sealing and insulating it saves that energy. Running a heater at 300 watts for 8 hours a day at $0.17 per kWh costs about $3.27 per month. Insulation cuts this cost, so you save over $35 annually just from the loft hatch.
Compare this to the low upfront cost, and the return on investment is fast. More extensive loft insulation or professional installation costs more, but the loft hatch is the easiest place to start saving heat and money.
Frequently Asked Questions
What materials are best for insulating a loft hatch?
How often should I check my loft hatch insulation?
Can I insulate my loft hatch myself?
What are the signs that my loft hatch insulation is failing?
How much can I save by insulating my loft hatch?
Is it worth insulating a loft hatch?
It helps to understand how to improve heat retention in a uk bungalow before spending anything.
We cover keeping heat in your home in its own guide.
