
Textured walls add character to your home but can also contribute to significant heat loss. Identifying and addressing the underlying issues will help you maintain a comfortable indoor environment and reduce your heating costs.
How to Reduce Heat Loss Through Textured Walls
Reduce heat loss through textured walls by sealing air leaks thoroughly and adding insulation where possible. These steps cut heat loss by stopping warm air from escaping and slowing heat transfer through the wall materials.
Textured walls lose heat mainly by two processes: convection and conduction. Convection happens when air moves through gaps and cracks, carrying heat away. Conduction occurs when heat passes directly through the wall materials, including textured surfaces, glass, and floors.
Single-pane glass is a major source of conduction heat loss. You can reduce it by adding storm windows or interior insulated panels that create a dead air space, which slows heat flow. This is more effective than simply using thinner glass, which actually increases heat loss because it reduces the barrier thickness.
Thin walls in homes generally reduce thermal mass but do not necessarily save energy. Thinner walls have less insulation space and conduct heat faster. To reduce energy loss, walls need enough insulation and air sealing regardless of thickness.
Heat coming through floors is often overlooked. To reduce it, install insulation beneath the floor or use insulated subfloor panels. For concrete floors, applying rigid foam insulation and a vapor barrier below the slab can cut conduction heat loss significantly.
Start air sealing textured walls by inspecting for gaps around windows, electrical outlets, baseboards, and any cracks in the surface. Use high-quality caulk or spray foam to fill these areas. Pay attention to textured surfaces where unevenness can hide small air leaks.
Next, consider adding insulation inside the wall cavity if accessible, or on the interior surface if the walls are solid. Blown-in insulation works well for hollow textured walls. For concrete or masonry walls, rigid foam boards or spray foam insulation help reduce conduction heat transfer.
- Inspect for Air LeaksLook closely for cracks, gaps, and holes in textured walls and around openings.
- Seal GapsUse caulk for small cracks and spray foam for larger gaps to block air flow.
- Add InsulationInstall blown-in, rigid foam, or spray foam insulation depending on wall construction.
- Improve Floor InsulationAdd insulation under floors or beneath concrete slabs to reduce heat loss from below.
| Appliance | Watts | Per hour | Per day (6 h) | Per month (30 days) |
|---|---|---|---|---|
| 1,500 W space heater | 1,500 W | 20¢ | $1.17 | $35.10 |
| Typical wall insulation upgrade | 600 W | 7.8¢ | 47¢ | $14.04 |
Reducing heat loss through textured walls improves comfort and lowers heating bills. For floors, see our guide on heat lose from floor to address that source specifically.
Understanding How Textured Walls Lose Heat
Heat escapes textured walls mainly through conduction, convection and radiation. Conduction moves heat through solid materials, like wall studs and plaster. Convection transfers heat by air movement within wall cavities or through gaps. Radiation sends infrared heat waves from warm to cooler surfaces without needing air or contact.
Thermal bridging is a key cause of conduction heat loss in textured walls. It happens where dense materials, such as wood or metal studs, bypass insulation. Heat flows rapidly along these bridges, lowering overall wall performance. Insulation slows conduction but cannot fully stop it where thermal bridges exist.
Air gaps and cracks in textured walls cause convective heat loss. Warm indoor air leaks out while cold outdoor air seeps in. This exchange wastes energy and causes drafts. Even small gaps around outlets, windows and textured surfaces add up to significant heat loss.
Radiant heat loss occurs when warm wall surfaces emit infrared energy to cooler surroundings. Textured surfaces may increase surface area slightly but do not change the basic radiation process. Adding reflective barriers inside walls can reduce radiant heat loss, but this is less common in typical textured wall construction.
The biggest heat loss drivers in textured walls are air leaks and thermal bridging. Sealing gaps stops convective loss and adding insulation reduces conduction through solid materials. Understanding these mechanisms helps target the most effective fixes for your walls.
Textured walls may have more small cracks and uneven surfaces than flat walls. These irregularities let air slip through more easily. That makes thorough air sealing and inspection crucial for reducing heat loss in textured walls compared to flat ones. For comparison with flat walls, see how to reduce heat loss in flat walls.
Step-by-Step Guide to Air Sealing Your Textured Walls
Start air sealing textured walls by identifying all sources of drafts. Common areas include electrical outlets, baseboards, window and door frames, gaps around plumbing pipes, and cracks in the wall surface. These spots allow cold air in and warm air out, wasting energy.

- Inspect for Air LeaksUse your hand or a smoke stick near outlets, baseboards, and trim to feel or see airflow. Mark all drafty spots with painter’s tape or a pencil to seal later.
- Turn Off Power at the BreakerBefore sealing electrical outlets or switches, switch off power to avoid shock. Remove outlet covers carefully to access gaps behind them.
- Seal Around Electrical Outlets and SwitchesApply low-expansion spray foam into gaps behind the outlet box. Avoid overfilling to prevent pressure on the drywall. Replace outlet covers once foam cures.
- Caulk Gaps at Baseboards and TrimUse a high-quality acrylic latex caulk with a paintable finish. Run a continuous bead along the gap between trim and wall, smoothing it with a damp finger or caulk tool.
- Fill Larger Cracks or CavitiesFor gaps wider than 1/4 inch, use backer rod foam to fill deep cracks before caulking. For holes or cavities, use expanding spray foam designed for wall use, trimming excess after it hardens.
- Seal Around Plumbing and Wiring PenetrationsApply fire-rated caulk or foam around pipes and wires that pass through the wall to block drafts and maintain fire safety standards.
- Check and Seal Window and Door FramesCaulk the joints where frames meet the textured wall surface. Replace or add weatherstripping if needed to improve the seal.
- Reinspect and Touch UpAfter sealing, check for any missed gaps or shrinkage in foam and caulk. Add more sealant where necessary to ensure a tight barrier.
Thorough air sealing can reduce heat loss significantly by stopping drafts that bypass insulation. Focus on small gaps and hard-to-reach spots that add up to major leaks. This process complements insulation upgrades for the best energy savings.
When to Add Insulation to Textured Walls
Adding insulation to textured walls is necessary when air sealing alone does not stop significant heat loss. If your home still feels cold despite thorough air sealing, or if the walls are uninsulated or have minimal insulation, adding insulation can improve heat retention and lower energy bills.
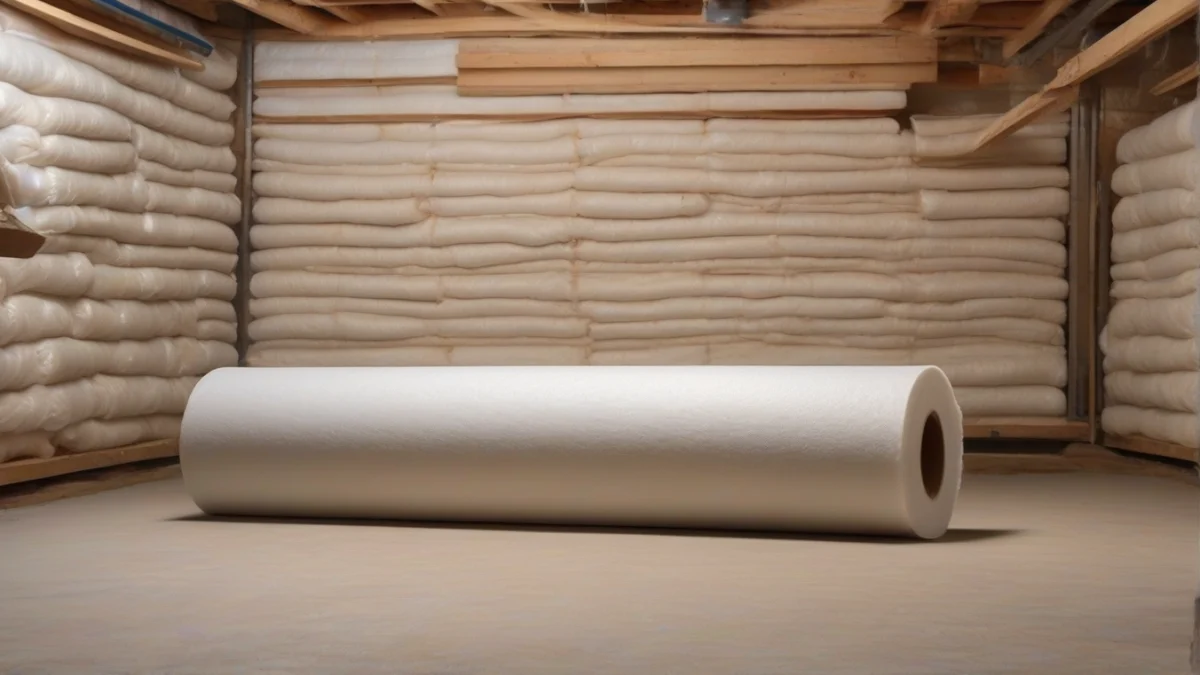
Check your walls’ insulation by inspecting from an unfinished basement or attic, or use an infrared thermometer to spot cold spots on textured walls. Walls built before the 1970s often lack adequate insulation, making them good candidates for adding insulation.
If your textured walls have existing insulation that is compressed, damaged or missing in spots, replacing or supplementing it will help. Air sealing fixes drafts but does not stop heat conduction through uninsulated wall cavities.
There are several methods to add insulation to textured walls without removing the wall surface. The most common is blown-in insulation, which fills wall cavities through small holes drilled in the wall. This method works well with textured walls because it minimizes damage to the surface.
Blown-in insulation uses loose cellulose, fiberglass, or mineral wool fibers. A professional uses a special machine to inject the fibers, which fill gaps and reduce heat loss by conduction and convection. This method can increase your wall’s R-value by several points, depending on the material.
Another option is injection foam insulation, which expands inside the wall cavity and seals air leaks as well as insulates. It is more expensive but offers higher R-values per inch and better air sealing. Foam is often recommended if you have persistent drafts even after traditional air sealing.
If you plan major renovations or wall replacement, installing batt or rigid foam insulation behind new drywall is an option. This approach is more invasive and costly but allows for the highest control over insulation type and thickness.
Adding insulation requires care to avoid trapping moisture inside walls, which can cause mold or structural damage. Make sure your walls have proper vapor barriers and that any insulation added complies with local building codes.
Insulation adds upfront cost and some disruption, so it is worth confirming that air sealing alone is insufficient before proceeding. Start with a blower door test or thermal imaging to measure how much heat your textured walls lose through air leaks versus conduction.
Consider insulation if your heating bills remain high after air sealing, or if your textured walls are cold to the touch in winter. Insulation will make your home more comfortable and energy-efficient, especially in colder climates.
Common Mistakes to Avoid When Reducing Heat Loss
A common mistake is rushing air sealing without first locating all drafts. Missed gaps let cold air in and warm air out, wasting time and money.
Using the wrong sealant can also reduce effectiveness. Latex caulk is good for small cracks but not for large gaps or areas exposed to moisture. Expanding foam fills larger gaps but can shrink or crack if applied thinly or unevenly.
Another error is ignoring the textured surface when applying insulation or air barriers. Textured walls can prevent materials from adhering properly, leaving voids that reduce thermal resistance.
Installing insulation without addressing moisture control risks mold and structural damage. Textured walls may trap moisture behind added layers if not properly ventilated or sealed.
Attempting DIY insulation upgrades without proper tools or knowledge can lead to uneven coverage and gaps. This wastes energy and can cause cold spots.
FAQ on Reducing Heat Loss Through Textured Walls
How can I tell if my textured walls need more insulation? If your heating bills are high or you feel drafts despite sealing, your walls may lack sufficient insulation. An infrared thermometer or thermal camera can reveal cold spots.
Can I use spray foam insulation on textured walls? Yes. Spray foam expands to fill gaps and adapts to uneven surfaces, making it effective for textured walls. Make sure to apply evenly to avoid voids.
Is it safe to add insulation over old textured plaster? Usually yes, but check for moisture problems or damage first. Adding insulation without fixing these issues can worsen them.
Will sealing textured walls stop all heat loss? No. Sealing stops air leaks but conduction through the wall material still causes heat loss. Insulation reduces that conduction.
Should I remove textured wall finishes before insulating? Not always. Removing texture is labor-intensive and not required if the insulation method suits the existing surface.
Where can I learn more about reducing heat loss in other parts of my home? See our guides on how to reduce heat loss in flat walls and heat lose from floor for targeted advice.
Frequently Asked Questions
What are the best materials for sealing air leaks in textured walls?
How can I tell if my walls are properly insulated?
Can I add insulation to textured walls myself?
What is the most effective way to seal around electrical outlets?
How do I know if my textured walls are causing heat loss?
What are the signs that I need to replace my insulation?
It helps to understand maximizing warmth in bungalows before spending anything.
We cover improving warmth in lofts in its own guide.
