That sudden chill when you walk into a hallway or bedroom? It often comes from above. An unheated loft is a major source of discomfort and energy waste in many homes. Cold air from the attic doesn’t just sit there; it actively moves into your living spaces, creating a persistent cold loft problem that your heating system constantly fights.
This isn’t just about a drafty attic. It’s about physics. Warm air rises, cools in the unheated space, and then sinks, creating a cycle that pulls cold air down through gaps. The goal is to break this cycle. For a comprehensive approach, a kit like the DIY HOME INSULATION can be incredibly useful, bundling essential materials for both air sealing and insulating in one go.
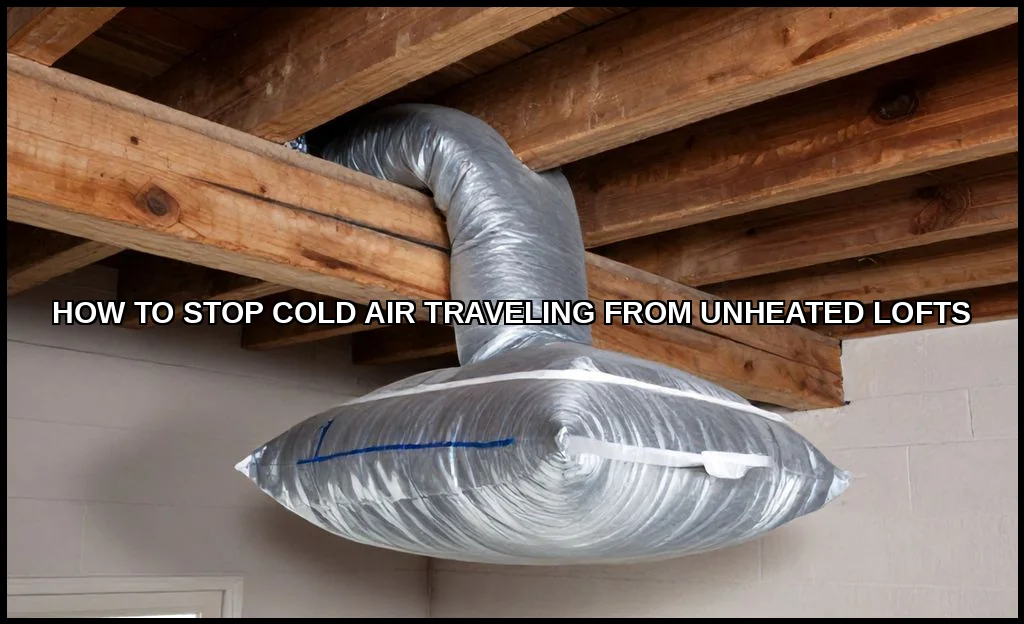
How Cold Air Travels from Unheated Lofts
Think of your loft as a cold reservoir. The primary driver is the stack effect. Warm air from your home leaks up into the loft through countless tiny gaps. Once it cools, it becomes denser and wants to fall back down, often through different openings. This is the downdraught you feel.
Key infiltration points are rarely a single big hole. Instead, it’s the collective effect of many small breaches:
- Loft hatches: Often the worst offender, with gaps on all sides and minimal insulation.
- Recessed light fittings (downlights) in ceilings below.
- Gaps around plumbing pipes, electrical cables, and chimney stacks.
- The perimeter where the ceiling meets the wall, a classic thermal bypass.
This heat loss through ceiling is silent but costly. Left unchecked, it can also lead to unheated space condensation when warm, moist air meets cold surfaces in the loft, risking mould and timber damage. Before you buy anything, it is worth looking at how to insulate behind skirting boards properly.
Essential Materials and Tools for Loft Draft Proofing
You don’t need a warehouse of gear. Focus on creating a continuous air barrier. The right materials make the job effective and long-lasting.
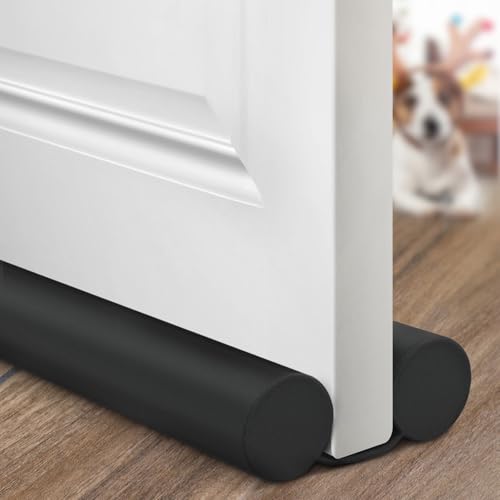
For sealing gaps and cracks, silicone sealant or low-expansion foam is perfect. For the loft hatch, adhesive foam tape or a proprietary draught excluder strip works wonders. Your main insulation will likely be a loft insulation roll (mineral wool or sheep’s wool) or rigid insulation boards for hatches.
Don’t forget personal safety: a good dust mask, gloves, sturdy boards to walk on, and a bright head torch. It’s a messy job up there.
Creating Your Air and Vapour Strategy
This is where nuance matters. While you seal air leaks, you must consider moisture. A vapour control layer (VCL) on the warm side of the insulation can prevent interstitial condensation. However, in many existing lofts, the priority is air barrier creation first. Remember, the ultimate goal is achieving that loft ventilation balancesealing drafts from the house while allowing the roof structure to breathe.
Step-by-Step Guide to Sealing Your Loft Hatch
This is your highest-return task. A poorly sealed hatch is like leaving a window slightly open all winter. Heres a reliable method for those seeking the best way to seal loft hatch from cold air.
- Assess and Clean: Remove the hatch. Thoroughly clean the frame and the hatch perimeter where tape will adhere. Dust is the enemy of a good seal.
- Apply Draught Excluder: Run a continuous strip of adhesive foam tape or a compression seal around the top of the frame (or the hatch itself). When closed, it should compress snugly.
- Insulate the Hatch: Attach rigid insulation board (like PIR) to the top of the hatch using adhesive or mechanical fixings. Ensure it’s thin enough not to jam the opening. For a DIY solutions for cold air coming from attic hatch, this step is non-negotiable.
- Final Check: Close the hatch. You should feel slight resistance and hear no “crunch” of debris. Run your hand around the edges from belowfeel for any drafts.
This single action can dramatically reduce the feeling of cold air from attic entering your home. For more on targeted draught-proofing, see our guide on how to stop cold drafts from other common sources. We go through attic insulation tips step by step in a separate article.
Insulating Between and Over Loft Joists
If your loft insulation is thin, matted, or non-existent, addressing this is critical. The standard approach involves two layers: one between the joists and one over them.
First, lay insulation rolls between loft joists properly. Unroll them gently, ensuring they fit snugly between the timber beams without being compressed. Wear protective gear. The insulation should touch the ceiling below but not be forced down.
The second, cross-layer over the joists is key for tackling thermal bridging solutions. By laying rolls at 90 degrees to the first layer, you cover the wooden joists themselves, which otherwise act as highways for heat to escape.
| Material Type | Best For | Key Consideration |
|---|---|---|
| Mineral Wool Roll | Standard between-joist insulation | Excellent fire resistance, easy to cut |
| Sheep’s Wool | Eco-friendly choice, handles moisture well | Higher initial cost, sustainable |
| Rigid PIR Boards | Loft hatches, dormer cheeks, thermal bridging | High performance per inch, more expensive |
For those on a budget, exploring cost-effective materials to stop loft drafts often leads back to mineral wool. It remains the workhorse for good reason. The depth is crucial; modern recommendations are for at least 270mm to 300mm total. Check the official source for current best-practice guidelines on thickness.
Maintaining Proper Ventilation While Blocking Drafts
Here’s the critical balance. You want to stop drafts from your home into the loft, but you must NOT block the loft’s own ventilation. Eaves vents, ridge vents, or tile vents are there for a reason.
They allow moisture from the roof structure to escape and prevent condensation. When laying insulation, use eaves guards or ensure material is carefully trimmed back to leave a clear airflow path from the soffit vents into the loft space. This maintains the vital loft ventilation balance.
Confusing house drafts with roof ventilation is a common and costly error. One makes you cold. The other protects your home’s structure. Getting this right means your insulation works with your building’s physics, not against it. For strategies on retaining the warmth you’ve worked hard to save, our article on how to keep rooms warm offers further practical tips.
When to Call a Professional
Loft insulation installation is a common DIY project. But complexity arises with wiring, complex layouts, or if you want to use the loft for storage (requiring boarding). If you see signs of existing damp, mould, or have a historic property, professional advice is wise. They can model moisture risk and specify appropriate thermal bridging solutions and vapour control.
Tackling the cold loft problem is a systematic process of seal, insulate, and ventilate. Start with the easy wins: the hatch and obvious gaps. Then assess your insulation depth. The payoff is immediatea warmer home, lower energy bills, and an end to that mysterious chill. Your heating system will thank you, and so will your comfort levels on the next cold night. The path to a warmer home truly starts from the top down.