
Electric meter boxes create a direct path for cold air to enter your home. The cable entry hole is rarely sealed properly during installation, the plastic housing warps or cracks over time, and door seals deteriorate. These gaps allow outdoor air to flow into your meter cupboard and then into living spaces, particularly on windy days.
Sealing these leaks is straightforward for most homeowners, but the work must be done safely. Cables carry live electricity, so only fire-rated products belong near them. Standard expanding foam, fiberglass insulation, and general-purpose sealants can damage cables or create fire hazards.
How to Seal Up a Draughty Electric Meter
Seal the cable entry point with intumescent fire sealant, apply exterior silicone around the meter box perimeter, and replace worn door gaskets to stop cold air leaking from your electric meter. The cable entry hole behind the box is the largest source of cold air infiltration, followed by degraded door seals and gaps where the box meets the wall.
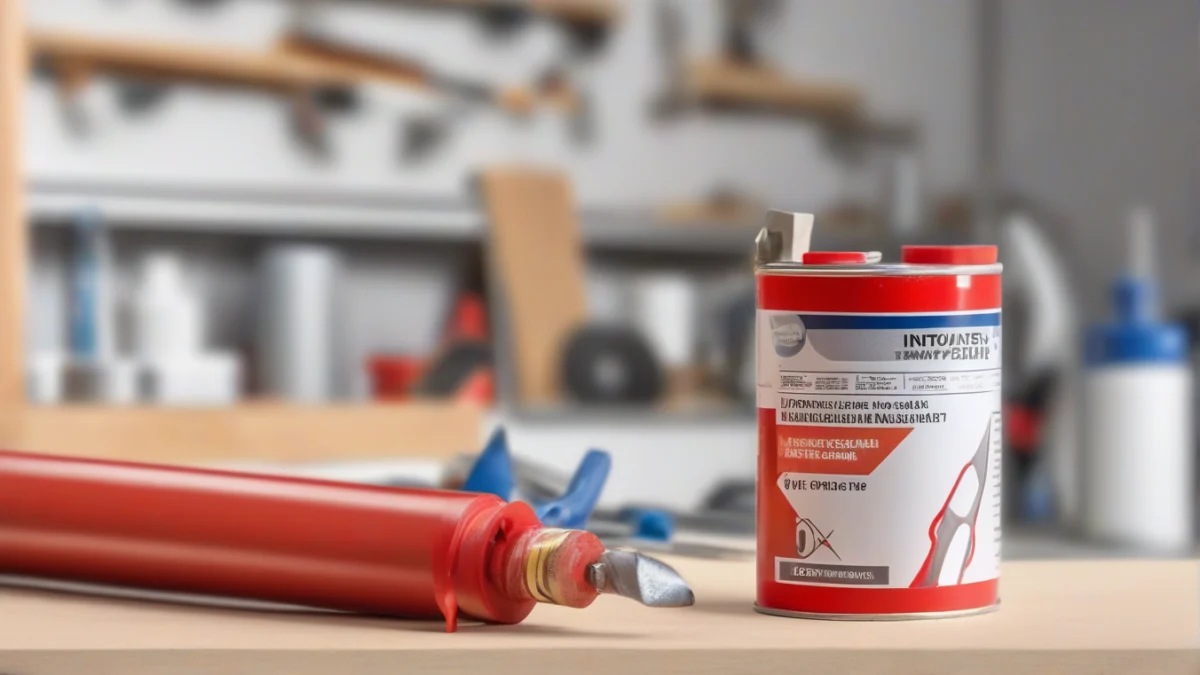
- Identify all leak sourcesOn a windy day, hold your hand around the meter box door edges, frame perimeter, and back panel where cables enter. You will feel cold air drawing through worn door seals, frame gaps, and the cable entry knockout hole. Mark each spot with masking tape so you can address them in order of severity.
- Replace the door sealPeel off the old foam gasket or brush strip if it is compressed, cracked, or missing sections. Clean the door frame with methylated spirits and let it dry. Apply self-adhesive foam draught seal or a brush strip around the full perimeter of the door frame, pressing firmly to ensure contact when the door closes.
- Seal exterior frame gapsClean the joint where the plastic meter box meets the wall, removing dirt, moss, and old brittle sealant. Once dry, apply a continuous bead of exterior silicone or frame sealant around the full perimeter. Tool it smooth with a wet finger to fill the gap and shed water away from the joint.
- Seal the cable entry holeLocate the knockout hole on the back or underside of the meter box where the service cable enters. From the exterior only, inject intumescent fire sealant around the cable where it passes through the hole, filling the gap without covering the cable insulation. This product expands under heat to maintain fire separation, making it the only safe material for use around live electrical cables.
- Check your workWait 24 hours for all sealants to cure. On the next windy day, check each sealed point again by holding your hand close to feel for air movement. Reapply sealant to any gaps you missed or areas where the first application has shrunk back from the edge.
The cable entry knockout is rarely sealed during meter installation, creating a direct path for cold air to travel down the electrical conduit from the meter box into the wall cavity and out through interior outlets. Sealing it from the exterior stops this stack effect without requiring you to work near live cables inside the box. Intumescent sealant remains flexible in all weather, maintains the fire rating of the cable entry, and will not degrade the cable sheathing over time.
If cold air is still drawing through interior outlets on the same wall after sealing the meter box, the wall cavity itself may need air infiltration control at other entry points.

Why Electric Meters Leak Cold Air
The cable entry knockout hole is the largest source of cold air leakage in most meter boxes. Installers knock out a circular or oblong hole in the back of the plastic enclosure to feed the service cable through, then mount the box to the wall without sealing the gap around the cable. Wind pressure forces outdoor air through this hole, down the conduit, and into the wall cavity behind your interior outlets. On a cold day you feel it as a steady draught from sockets on the same exterior wall.
Door seals degrade faster than any other component. UV exposure, temperature cycling between summer and winter, and repeated opening for meter readings cause the foam gasket or brush strip to lose compression. Once the seal no longer makes full contact with the door frame, air infiltration increases sharply. Older meters with no gasket at all leak continuously around the full door perimeter.
Plastic meter boxes warp and crack over time, especially older models installed before the 2000s. Thermal expansion and contraction, impact damage, and UV degradation cause the plastic to become brittle. Hairline cracks form near mounting screw holes and along the back panel, and the box itself can warp away from the wall, opening gaps that were not present when first installed. Gaps between the box mounting flange and the wall surface allow wind-driven air to enter the cavity behind the box and find its way indoors through cable routes and service conduits.
Stack effect and pressure imbalance draw cold air through these paths when your home is heated. Warm air rises and escapes through the loft and upper-floor vents, creating negative pressure at ground level that pulls outdoor air in through any available gap. The meter box, mounted on an exterior wall with a direct path to the wall cavity, becomes one of the largest unintentional ventilation routes in the building. The colder it is outside and the warmer inside, the stronger the draw.
What Sealant to Use on Electric Meter Boxes
Three types of sealant suit different parts of the meter box, and using the wrong one puts cables at risk or lets the seal fail in months.

| Sealant Type | Where to Use | Why It Matters |
|---|---|---|
| Intumescent fire sealant | Cable entry holes behind the meter | Expands when heated to block fire spread through the hole. Stays flexible around cables and meets UK building regulations for service entries. |
| Exterior silicone or frame sealant | Box perimeter where it meets the wall | Weatherproof and flexible enough to handle expansion. Remains sealed through temperature swings and can be painted once cured. |
| Self-adhesive foam gasket or EPDM rubber strip | Door frame and edges | Compresses to fill the gap when the door closes. Withstands UV exposure and temperature changes without losing its seal. |
Intumescent sealant is the only safe choice for cable entry points. Standard expanding foam damages cable insulation as it cures and lacks fire rating, so it fails inspection and puts the installation at risk. Fiberglass insulation acts as a filter rather than an air barrier—cold air passes straight through it, carrying moisture and dust into the box.
Clean and dry all surfaces before applying any sealant. Dust, moisture, and old sealant residue prevent adhesion, and the seal lifts within weeks. Use a caulking gun to lay an even bead along the joint, then tool it smooth with a wet finger or a plastic scraper within ten minutes. Intumescent sealant stays workable longer than silicone, but both skin over quickly in humid conditions.
Exterior silicone labeled for frame sealing or weatherproofing works better than decorator’s caulk on the box perimeter. It flexes with thermal expansion and sheds water instead of absorbing it. Non-setting mastic, sold as frame sealant, stays permanently soft and suits boxes that vibrate or shift slightly on the wall.
Sealing Internal Meter Cupboards
Internal meter cupboards let you seal from the room side, which is faster and needs no ladder. The trade-off is that you only stop air entering the room, not the cupboard itself, so the coldest drafts still come through the back panel where cables penetrate the external wall.
- Replace or add door sealsFit a self-adhesive compression strip along all four edges of the door frame. Existing seals harden and crack after a few years, and even a small gap at one corner lets cold air pour through. Measure the frame perimeter and buy enough EPDM or foam strip to run continuously without joints.
- Seal frame-to-wall gapsRun decorator’s caulk or acoustic sealant along any visible gap between the cupboard frame and the plaster. These gaps connect the wall cavity to the room and often show as black dust lines from years of air movement. Wipe the bead smooth with a damp cloth before it skins over.
- Add a secondary draft stopperIf the gap under the door exceeds 5 mm, a self-adhesive silicone draft stopper blocks the remaining air. It compresses when the door closes and suits uneven floors where a rigid threshold strip would bind.
- Leave the back panel alone from insideNever attempt to seal the back of the cupboard from the room side if cables are present. The service cable entry sits behind the meter, and working around live cables without shutting off the supply is dangerous. External sealing from outside the house is the only safe method for that joint.
Internal sealing reduces drafts noticeably in cupboards on internal walls or party walls, where the back panel is warm. For cupboards on external walls, the coldest air enters through the back where cables pierce the brickwork. Room-side sealing helps, but external sealing around the cable entry is essential to stop the source. Tackle the door and frame first, then assess whether external work is needed based on how much cold air remains.
Acoustic sealant stays flexible for years and suits the frame-to-wall joint better than decorator’s caulk, which cracks when the frame shifts. Both work, but acoustic sealant handles movement without opening gaps. Check that the cupboard door closes fully after adding compression strip—thick foam can bind on a tight frame and prevent latching.
When to Call an Electrician Instead
Most meter box sealing is straightforward DIY work, but a few situations need a qualified electrician. Leave it to the professionals when the work touches live cables, requires moving the meter, or involves the service head.
- Cable insulation is cracked, brittle or damaged where it enters the meter box
- You need to move or adjust cables to reach gaps behind the meter
- The meter box itself is cracked, broken or pulling away from the wall and needs replacing
- Cold air is coming from inside the consumer unit, which suggests a fault or loose component
- Large unfilled cavities behind the box require professional foam injection or cavity insulation
- The service cable entry point or main fuse needs adjustment or repair
Work on the service cable entry or the main fuse requires a competent person under UK electrical regulations. That includes drilling, cutting or repositioning anything upstream of your consumer unit. Sealing around the outside of the box with silicone or fire sealant is permitted, but touching the service head or meter terminals is not.
Other Common Cold Air Leaks to Check
Once the meter box is sealed, check the other common leak points that let cold air into UK homes. These five sources account for most of the draughts people feel on windy nights.
- Extractor fan vents: Backdraft dampers fail or stick open, letting cold air blow straight in. Clean the damper flap or replace the vent with a model that seals properly.
- Window panels: Glazing seals deteriorate, sash joints open up, and frame-to-wall gaps appear as timber shrinks. Renew perimeter seals and reglazing compound to stop the whistling.
- Patio doors: The bottom track and threshold are the primary leak points, worsened when rollers sag and the door no longer presses against the weatherstrip. Adjust roller height and replace worn threshold seals.
- Attic hatches: Most lack a perimeter gasket, and poor fit creates large leaks driven by stack effect as warm air rises. Fit self-adhesive foam tape around the hatch frame and add a latch to pull it tight.
- Electrical outlets on external walls: Multiple leakage paths through wire knockouts and the wall cavity let cold air in. Foam gaskets behind cover plates reduce draughts but do not stop cavity air movement; sealing the outlet box perimeter from the attic or basement is more effective.
Patio door leaks concentrate at the bottom track where the rollers meet the threshold seal. Lift the door by turning the roller adjustment screws clockwise until it presses firmly against the top weatherstrip, then check that the bottom sweep makes contact along the full width of the threshold.
Frequently Asked Questions
Can sealing my electric meter box cause a fire hazard?
Do I need a licensed electrician to seal my electric meter?
Will sealing the meter box affect meter readings or inspections?
How often should I replace the seals on my meter box?
What is the best way to remove old sealant from a meter box?
How much money can I save by sealing my electric meter box?
If that sounds like your room, read up on sealing socket draughts next.
Readers in this position usually ask about french doors insulation tips as well.
