
Cold air leaks around light switches can significantly impact your home’s comfort and energy efficiency. These leaks can lead to higher heating bills and create chilly drafts in your living space.
How to Detect Cold Air Leaks Around Light Switches
Cold air leaks around light switches often come from gaps between the switch box and the wall or through cracks in the drywall. To detect these leaks, use the hand test or hold an incense stick near the switch to watch for smoke movement indicating a draft.

Air sealing around vents is similar: look for gaps at the edges and inside the box, then seal with foam gaskets or caulk. A cold air draft detector, a handheld device that senses temperature changes, can also help identify leaks precisely.
Common causes of leaks include poorly installed switch boxes, missing or damaged insulation inside the wall, and gaps in drywall or paint. These gaps let cold outdoor air seep inside, making rooms harder to heat and increasing energy bills.
Start by turning off the power at the breaker before removing the switch cover plate. Then, use your hand to feel for cold air around the edges or hold a lit incense stick close to the switch. If the smoke wavers or blows sideways, you have found a draft.
- Turn off powerSwitch off the circuit breaker to the light switch to avoid electrical shock.
- Remove cover plateUnscrew and carefully remove the switch cover plate to expose the switch box.
- Perform hand testPlace your hand near the edges of the switch box to feel for cold air moving in.
- Use incense stickLight an incense stick and hold it near the edges of the switch box to observe smoke movement.
- Check inside switch boxWith the cover off, look inside the box for visible gaps or cracks where air could leak.
If you detect a draft but cannot access the wall cavity or the gaps are large, consider calling a professional electrician or insulation contractor. They can open the wall safely, add insulation, and install proper air sealing materials.
DIY fixes include installing foam gaskets behind switch plates or applying low-expansion spray foam into gaps around the box. These reduce leaks without removing drywall. However, avoid overfilling to prevent pressure on electrical components.
Cold air draft detectors provide a precise, hands-free way to find leaks. They measure temperature differences and can spot leaks that the hand test or incense stick might miss.
Detecting cold air leaks early helps maintain indoor comfort and lower heating bills. Sealing leaks around light switches is a quick, effective way to block drafts and improve your home’s energy efficiency.
Common Causes of Cold Air Leaks
Cold air leaks around light switches happen because electrical boxes create gaps in your wall’s insulation barrier. The box itself is a hole in the drywall, and if it isn’t sealed tightly to the wall cavity or insulated, cold air can flow through the gaps behind it.
Air moves inside your home due to pressure differences caused by temperature and ventilation. This movement, known as the stack effect, pulls cold air in through openings at lower levels, like basements or garages, and pushes warm air out higher up. Light switches on exterior walls often sit right in the path of this airflow, so they become common leak points.
In garages, cold air leaks are common around doors and walls because garages are usually less insulated and ventilated than living spaces. Cold air enters through the gaps around the garage door frame and can travel through shared walls into the house. Light switches on these walls can let that cold air slip inside if the electrical box isn’t sealed.
| Cause | How It Creates Cold Air Leaks |
|---|---|
| Unsealed Electrical Boxes | Gaps between the box and wall let air pass through the wall cavity. |
| Cracked Drywall Around Switches | Small cracks or gaps around the switch plate let cold air in. |
| Stack Effect | Warm air rises and escapes, drawing cold air in at lower openings like switch boxes. |
| Garage Door Gaps | Cold air enters through door edges and moves through shared walls to switches. |
Electrical boxes are often metal or plastic and don’t fill the space completely. Without a foam gasket or caulk around the box edges, air moves freely behind the drywall. This is why adding an air sealing gasket is the fastest way to stop leaks around switches.
The stack effect can be strong in multi-story homes or those with high ceilings. It creates a continuous draft that pulls cold air in at the lowest points of the building envelope. Light switches on exterior walls near the floor or basement are especially vulnerable.
To stop cold air from coming around garage doors, seal the door edges with weatherstripping and check for gaps in the frame. Insulate and seal the wall cavities shared with the house and add foam gaskets behind any electrical switches on those walls. These steps block the main pathways cold air uses to enter and spread through the interior.
Fixing leaks around light switches also helps reduce drafts in other parts of the home. For example, sealing electrical boxes prevents cold air from moving through the walls and reaching living spaces. This is similar to how sealing gaps around window handles or door hinges keeps cold air out why cold air leaks around window handles and how to stop cold air near door hinges.
Methods for Detecting Drafts
Start your cold air leak detection with simple, low-cost methods that use your senses. The hand test and incense stick test reveal leaks by feeling or seeing air movement. These methods are quick and require no special tools.
- Hand TestPlace your hand near the edges of the light switch plate. Move slowly around the perimeter to feel for cold air blowing in or warm air escaping. This test works best on a cold day or when the heating or cooling system is running.
- Incense Stick TestLight an incense stick and hold it near the switch plate edges. Watch the smoke trail carefully. If the smoke wavers or blows sideways, you have found a draft. This method shows leaks you might not feel with your hand.
For more precise detection, try the smoke pencil test. A smoke pencil is a handheld device that emits a gentle stream of smoke. It is more controlled and less affected by air currents than incense sticks. You wave it slowly around the switch plate and watch the smoke’s movement to locate leaks.
Thermal imaging cameras provide a high-tech way to find cold air leaks. These cameras detect temperature differences behind walls and around switches without touching them. They can reveal hidden leaks inside the wall or behind the switch box, which other methods miss.
Each method has strengths. Use the hand test and incense stick for a quick check. Use a smoke pencil for targeted detection. Use thermal imaging for a thorough inspection or when other methods don’t find the source.
How to Fix Air Leaks Around Light Switches
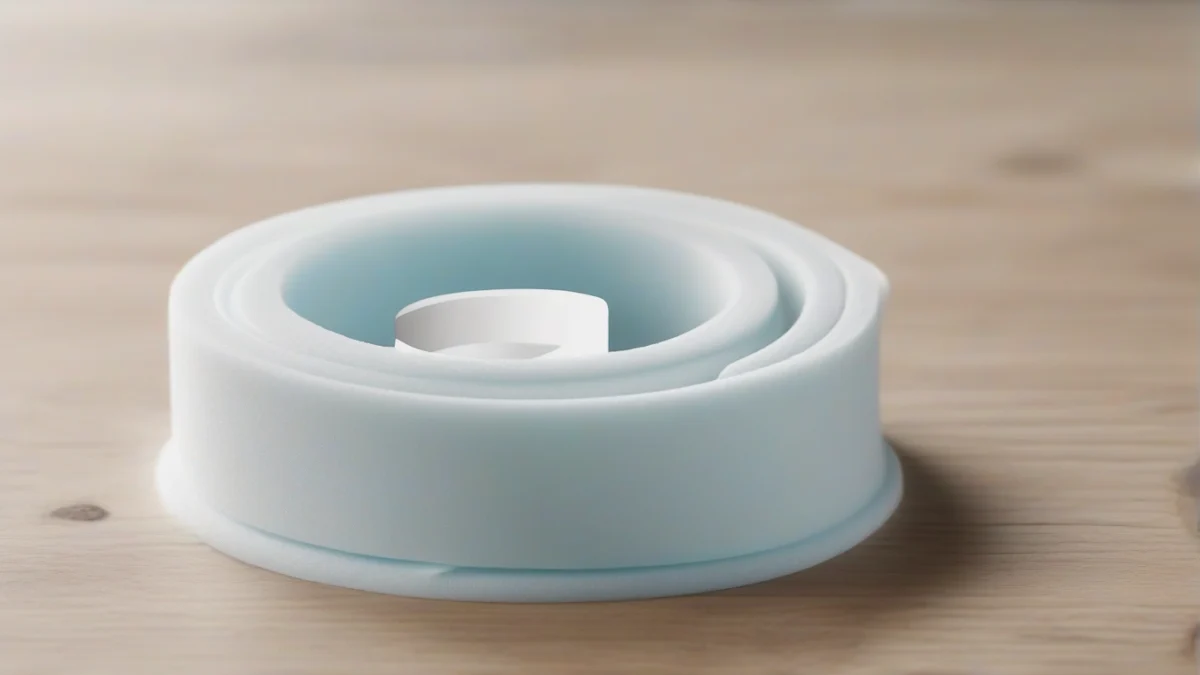
Start fixing cold air leaks around light switches by installing air sealing gaskets. These thin foam or rubber gaskets fit behind the switch plate and block drafts from gaps between the switch box and the drywall.
- Turn Off PowerSwitch off the circuit breaker for the switch you will work on to avoid electric shock.
- Remove Switch PlateUnscrew the switch cover plate carefully and set the screws aside.
- Install Air Sealing GasketPlace the gasket behind the switch plate. Align the holes so the screws fit through both the plate and gasket.
- Reattach Switch PlateScrew the switch plate back on, compressing the gasket to seal the gap.
- Restore PowerTurn the circuit breaker back on and test the switch for proper function.
For loft lights, which often have larger gaps or older wiring boxes, use the same gasket method but check for bigger openings. If gaps are wider than 1/4 inch, fill them first with fire-rated foam sealant designed for electrical boxes before installing the gasket. This foam expands to seal cracks but remains fire-resistant around wiring.
Infrared heaters warm objects and people directly but do not stop cold air leaks. They do not seal gaps or reduce drafts. For draft control, sealing leaks is necessary before relying on any heater for comfort. Learn more about how infrared heaters relate to drafts in do infrared heaters stop cold air leaks.
If you find cracks or holes too large for gaskets, fire-rated foam is the next step. Apply it carefully around the edges of the switch box inside the wall cavity to block airflow. Let it cure fully before replacing or installing the switch plate and gasket. Avoid overfilling as foam can expand and deform the box or plate.
Air sealing gaskets cost a few dollars each and take minutes to install. Fire-rated foam sealant costs more and requires careful handling but provides a more permanent seal on larger gaps. Both methods improve comfort and reduce heating costs by stopping cold drafts at the source.
When to Call a Professional
Finding cold air leaks inside your walls can be difficult without the right tools. If you suspect leaks beyond what you can see or feel around light switches, a professional can help locate hidden gaps using specialized equipment.
A blower door test is one of the most effective methods professionals use. It depressurizes your home to force air through leaks, making them easier to detect. This test can pinpoint leaks around electrical boxes, plumbing penetrations, and other hidden spots inside walls.
Call a professional if you notice persistent cold spots or uneven heating despite sealing visible leaks yourself. Also, if your energy bills remain high or humidity problems continue, these can be signs of deeper air leaks that need expert diagnosis.
Hiring a professional is also wise if you are uncomfortable working near electrical wiring. Mistakes around light switches can be hazardous. A qualified technician ensures repairs meet safety standards and local codes.
To find a qualified expert, look for home energy auditors or insulation contractors who offer blower door testing. Verify their credentials and ask if they provide a detailed report with recommendations.
- Check for signs of hidden leaksLook for cold drafts, moisture, or mold near walls and switches that persist after basic sealing.
- Schedule a blower door testHire a certified professional to perform the test and locate leaks precisely.
- Review the report and repair planUse the professional’s recommendations to target sealing or insulation improvements.
Detecting and fixing cold air leaks inside walls can improve comfort and reduce heating costs. When basic fixes around light switches don’t solve the problem, professional testing and repairs offer the best long-term solution.
Frequently Asked Questions
What are the signs of a cold air leak around a light switch?
How can I seal air leaks without professional help?
What tools do I need to detect air leaks?
Is it safe to work on light switches myself?
How much can sealing air leaks save on heating bills?
What should I do if I find mold near a light switch?
Before you buy anything, it is worth looking at locating cold air leaks.
Before you buy anything, it is worth looking at finding leaks at home.
