
A cold car heater can be frustrating, especially during winter months. Often, the cause is a clogged heater core, which can be resolved with a DIY flush.
How to Flush a Heater Core
Flushing a heater core clears clogs by running water or a chemical solution through it, either forward or backward. This restores heat circulation without replacing the core.
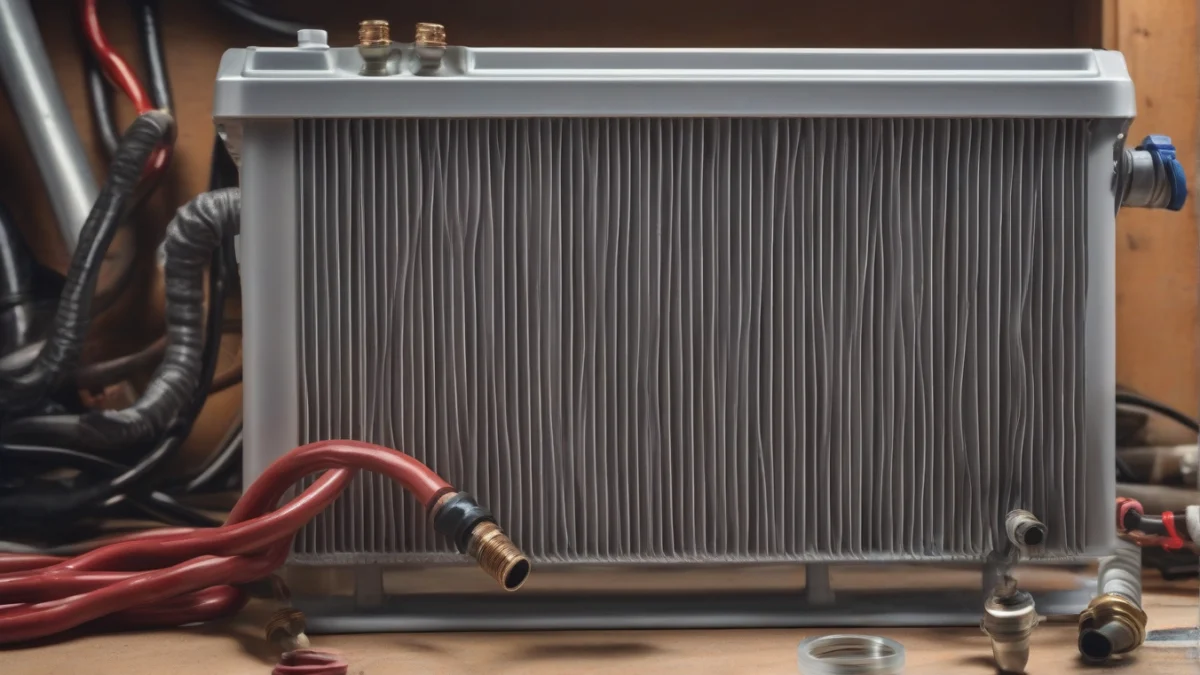
Start by disconnecting the heater hoses at the firewall, then use a garden hose or flush kit to push water through the heater core. Reverse flushing, or backflushing, forces water opposite the normal flow to dislodge stubborn blockages.
You only need tap water for a basic flush if the clog is mild. For tougher buildup, use a chemical flush solution designed for heater cores. Avoid harsh chemicals that can damage the core or seals.
Turning on the car’s heater alone does not flush the heater core. It circulates hot coolant through the core but does not clear blockages. Flushing requires physically pushing water or a cleaner through the core.
Tools and Materials Needed
- Garden hose with a narrow nozzle or a heater core flush kit
- Bucket or container to catch water
- Pliers or wrench to disconnect heater hoses
- Chemical flush solution (optional)
- Protective gloves and safety glasses
Step-by-Step Forward Flush
- Cool the engineEnsure the engine is cold before starting to avoid burns.
- Locate heater hosesFind the two heater hoses connected to the firewall leading to the heater core.
- Disconnect one heater hoseUse pliers or a wrench to loosen the clamp and detach one hose.
- Attach garden hoseConnect the garden hose to the open heater core pipe.
- Run water throughTurn on the garden hose and allow water to flow through the heater core into the disconnected hose outlet, catching the water in a bucket.
- Check water clarityContinue flushing until the water runs clear, indicating buildup is removed.
- Reconnect hose and testReattach the heater hose, clamp securely, then start the car and turn on the heater to check for restored heat.
Step-by-Step Reverse Flush (Backflush)
- Cool the engineWait until the engine is completely cool.
- Disconnect both heater hosesRemove clamps and detach both hoses from the firewall.
- Attach garden hose to outlet hoseConnect the garden hose to the heater hose that normally acts as the outlet.
- Seal the inlet hosePlug or cap the inlet heater hose to force water backward.
- Flush water backwardTurn on the hose to push water backward through the heater core, dislodging clogs more effectively.
- Repeat if neededAlternate forward and reverse flushes if buildup persists.
- Reconnect hoses and testSecure both hoses, clamp tightly, then start the engine and test the heater function.
Common Causes of Heater Core Clogs
Heater core clogs mainly happen because coolant breaks down over time. Old coolant loses its anti-corrosion additives and becomes acidic, which lets rust and scale form inside the cooling system. These deposits settle in the heater core tubes and restrict water flow.

Debris like dirt, rust flakes, and sediment from the radiator or engine block also accumulates in the heater core. This buildup narrows the flow paths, reducing heat transfer and causing poor cabin heating. A clogged heater core can cause the heater to blow cold air or only warm air intermittently.
You can flush a blocked heater core with plain water or a chemical flush solution designed for cooling systems. The best chemicals contain inhibitors that break down rust and scale without damaging the metal tubes. Avoid using harsh substances like lye; it can corrode the heater core and cause leaks.
Regular maintenance prevents clogs. Change the coolant every 2 to 5 years or as your vehicle manual recommends. Use the correct coolant type and keep the cooling system clean by flushing it periodically. These steps reduce corrosion and debris buildup in the heater core.
If you notice weak heat or a sweet smell inside the car, check the heater core for clogging. Flushing with a proper chemical flush solution can restore heat flow and extend the life of the heater core.
When to Call a Professional
DIY flushing works well for minor clogs. Call a professional if the heater core leaks, corrodes, or shows signs of irreparable damage. Leaks often require replacing the heater core, which is complex and needs specialized tools and skills.
Flushing the heater core yourself involves disconnecting hoses and running water or a chemical flush through the core. If flushing doesn’t improve heat output, the clog may be too severe or the core damaged beyond repair. In that case, professional inspection is necessary.
Signs to call a pro include persistent leaks, coolant odors inside the cabin, and no heat after flushing. Professionals can pressure-test the system and replace the heater core safely.
When deciding between DIY and professional help, consider your mechanical skills and tools. Flushing is a good first step, but replacement is beyond most DIYers. If unsure, a mechanic can diagnose and fix the problem correctly.
Learn how to flush a heater core properly with step-by-step instructions to avoid mistakes. If you want more details on symptoms and when to flush, see heater core flush symptoms & when you need one.
Safety Tips for Flushing a Heater Core
Always work on a cool engine when flushing a heater core. Hot coolant can cause severe burns if it sprays or spills during the process. Wait at least an hour after driving for the engine to cool down before starting.
Use gloves and eye protection to guard against coolant splashes. Coolant contains chemicals that irritate skin and eyes. A long-sleeved shirt and closed-toe shoes add extra protection.
Safety tips when flushing heater core include working outdoors or in a well-ventilated garage to avoid inhaling fumes from chemical flushes. Keep a container ready to catch flushed coolant to prevent spills.
Troubleshooting After Flushing the Heater Core
If air from the heater remains lukewarm after flushing, the core may still be partially clogged or air may be trapped in the cooling system. Bleed the system by running the engine with the radiator cap off and heater on high until bubbles stop.
No improvement in heat can indicate issues beyond the heater core. Check the thermostat to ensure it opens at the correct temperature. A stuck thermostat prevents hot coolant from circulating through the heater core.
If flushing does not restore heat and no leaks are present, consider testing the blend door in the HVAC system. A malfunctioning blend door can block warm air from entering the cabin despite a working heater core.
