
Cold air rising through your floor makes rooms uncomfortable and drives up heating bills. The chill comes from air leaks in the subfloor, uninsulated cavities between joists, and ventilated crawl spaces or basements that let outdoor air circulate under your feet.
Fixing it means working from below. You seal the entry points where cold air gets in, then insulate the floor structure to stop heat from escaping. The method depends on your floor type and the space underneath, but the principle is the same: create a continuous air barrier and a thermal boundary that keeps conditioned air inside.
How to Stop Cold Air Coming Through Floorboards
Stop cold air by sealing gaps and insulating the floor cavity from below. Caulk penetrations around pipes and wires, foam the rim joists, lay a vapor barrier in the crawl space, and fit insulation between floor joists to block both air leaks and heat loss.
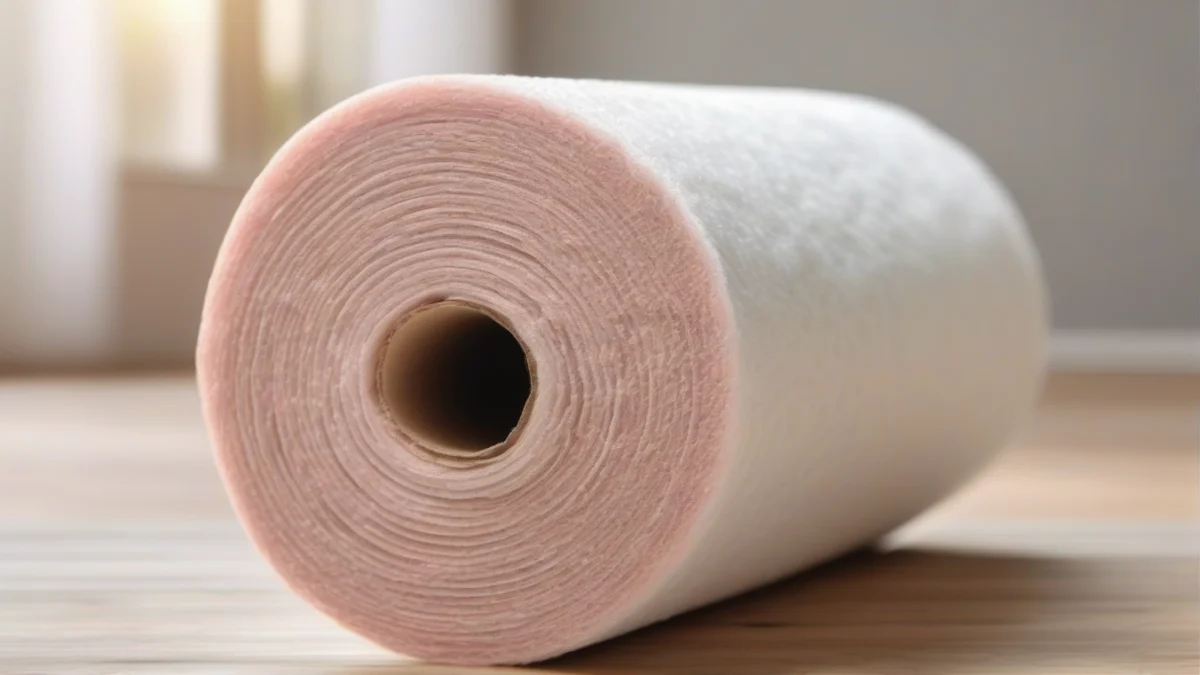
Cold air rises through floorboards because of the stack effect: warm air escapes through your ceiling and attic, pulling replacement air up from below. That replacement air enters through gaps between boards, along the perimeter where floor meets wall, and around penetrations where pipes and wires pass through. Suspended timber floors in older homes amplify the problem because they sit over ventilated voids designed to prevent moisture rot. Cold outside air flows freely through foundation vents, across the crawl space, and up through any opening it finds.
Sealing from below is more effective than filling surface gaps. Caulking every crack between floorboards from above is tedious, incomplete, and often ineffective because the real leaks are hidden: around the rim joist where floor framing meets the foundation, at plumbing and electrical penetrations, and where subfloor sheets meet. Working from the crawl space or basement lets you see and seal the pathways that matter.
- Inspect the floor cavityCrawl beneath the floor with a flashlight and look for daylight, sagging insulation, gaps at the rim joist, and openings around pipes and wires. Mark problem areas with chalk or a photo so you know what to seal.
- Seal penetrations and gapsUse fire-rated caulk or foam around plumbing and electrical penetrations. Foam the rim joist—the board where floor joists rest on the foundation—with closed-cell spray foam or rigid foam board cut to fit snugly between joists.
- Install or repair floor insulationFit unfaced fiberglass batts or mineral wool between joists, pushing them up against the subfloor with insulation supports or wire mesh. Replace any sagging or compressed insulation that has pulled away from the floor above.
- Add a vapor barrier if neededIn vented crawl spaces, lay 6-mil polyethylene sheeting over the dirt floor, overlapping seams by 12 inches and taping them. Extend the edges up the foundation walls 6 inches and tape or weight them in place.
- Maintain crawl space ventilationKeep foundation vents open unless you fully encapsulate the crawl space with insulation on the walls, a sealed vapor barrier, and conditioned air. Blocking vents without encapsulation traps moisture and causes rot.
- Seal surface gaps selectivelyAfter sealing below, fill visible gaps between floorboards with latex caulk or wood filler only where drafts persist. Focus on perimeter gaps along baseboards rather than every board joint.
The order matters: air sealing first, then insulation. Insulation slows heat transfer through solid materials, but it does not stop air from flowing through gaps. A floor with perfect insulation and unsealed rim joists will still feel cold because convection currents pull air through the cavity. Seal the leaks, then insulate to keep the heat in the room where you need it.
Why Cold Air Comes Up Through Your Floor
Cold air rises through your floor because warm air escapes at the ceiling, and replacement air rushes in from below. This stack effect pulls air from the crawl space or basement through every gap in the assembly: cracks at the sill plate where the wood frame meets the foundation, holes drilled for plumbing and electrical lines, and the seams between subfloor panels. The colder it gets outside, the stronger the pull.
The rim joist—where the floor platform meets the foundation wall—is the largest single leak point in most homes. It typically sits uninsulated, with gaps at every junction, and outdoor air moves freely through the cavity. Even a well-insulated floor can feel cold if the rim joist remains open.
Uninsulated floor joists create open channels that let air circulate between the foundation and the living space above. Fiberglass batts installed years ago often sag away from the subfloor, leaving air gaps that erase most of the insulation value. Thermal bridging through the wood joists themselves conducts cold directly to the floor above, chilling the surface even when insulation fills the space between.
Your flooring material affects how cold the surface feels, but it does not stop the draft. Tile and hardwood conduct heat from your feet faster than carpet, so they feel colder, but the root cause is air movement and missing insulation below the subfloor. Addressing floorboard gaps reduces drafts you can feel with your hand, but it does not solve heat loss through the floor cavity or the draw of the stack effect pulling air from below.
Sealing and Insulating Floor Cavities Step by Step
Stopping cold air beneath a suspended floor means working from the ground up: seal the crawl space or basement, block penetrations at the rim joist and sill plate, then insulate between the joists. The process takes a weekend for most homes, but it cuts heat loss and eliminates the drafts that make floors unbearably cold.
- Inspect the crawl space or basementLook for standing water, damp soil, mold on joists, and any signs of pest activity. Check the rim joist where the floor frame meets the foundation wall; you will often see daylight through gaps around the sill plate or at penetrations where pipes and wires enter. Mark every leak point with chalk or a photo on your phone.
- Lay a vapor barrier on the crawl space floorRoll out 6-mil polyethylene sheeting across the entire dirt floor, overlapping seams by 12 inches and running the plastic 6 inches up the foundation walls. Tape seams with polyethylene tape, not duct tape. This blocks ground moisture from rising into the floor cavity and keeps insulation dry.
- Seal the rim joist and sill plateCaulk the joint where the sill plate meets the top of the foundation wall, working around the entire perimeter. Then spray foam into the gap between the rim joist and the foundation; this is where most cold air enters. Use low-expansion foam to avoid bowing the rim joist.
- Foam around all penetrationsSeal every hole where pipes, electrical wires, or ductwork pass through the subfloor or rim joist. Caulk works for small gaps around wires; spray foam fills larger openings around plumbing and HVAC lines. Each penetration is a chimney for cold air.
- Install insulation between floor joistsFit unfaced fiberglass batts or rigid foam board snugly between the joists, pressing the insulation against the underside of the subfloor without compressing it. Compression reduces R-value. Batts need friction-fit support or wire mesh stapled beneath them to prevent sagging. Rigid foam can be friction-fit or fastened with construction adhesive.
- Seal gaps in enclosed porchesPorches built over open foundations pull cold air through cracks at the perimeter and through the floor itself. Seal porch floors the same way: foam the rim joist, caulk penetrations, and insulate between joists. If the porch has lattice skirting instead of a solid foundation, replace it with insulated skirting or close off the underside entirely and insulate from below.
The work is dirty and the crawl space is tight, but sealing and insulating from below stops the source of the problem. Floors stay warm because heat no longer escapes through the cavity, and cold air no longer rushes in to replace it.
Insulation Materials and Which to Use Where
Rigid foam boards seal air and insulate in one step, which makes them ideal for rim joists and between floor joists where you want both jobs done. Extruded polystyrene (XPS) delivers R-5 per inch and resists moisture. Expanded polystyrene (EPS) gives R-4 per inch at lower cost. Cut the boards to fit snugly between joists, then seal edges with canned foam. The foam itself blocks air movement, so you skip the separate air-sealing pass.

Fiberglass batts cost half what foam does and work well in dry crawl spaces, but they do nothing to stop air. You must seal every penetration, rim joist gap and crack first, or cold air will blow straight through the fiberglass and into your rooms. Batts also sag over time if you don’t support them with wire mesh or plastic netting stapled to the joist bottoms. When fiberglass sags, gaps open at the top and R-value drops.
Mineral wool batts handle moisture better than fiberglass and hold their shape without sagging. They cost more but suit damp basements and crawl spaces where condensation or occasional water entry is a risk. Spray foam seals air and insulates permanently, expanding to fill every crack and staying in place for decades. It costs two to three times what batts do and requires a contractor with spray equipment, so most homeowners reserve it for rim joists and small problem areas rather than entire floor cavities.
| Material | R-Value per Inch | Cost | DIY Ease | Moisture Resistance |
|---|---|---|---|---|
| XPS rigid foam | R-5 | High | Moderate | Excellent |
| EPS rigid foam | R-4 | Moderate | Moderate | Good |
| Fiberglass batts | R-3.2 | Low | Easy | Poor |
| Mineral wool batts | R-3.3 | Moderate | Easy | Good |
| Spray foam (closed-cell) | R-6 to R-7 | Very high | Professional only | Excellent |
Target R-19 to R-25 for floors over unconditioned crawl spaces and basements in cold climates. That means six inches of fiberglass, four inches of XPS, or three inches of closed-cell spray foam. Warmer climates can drop to R-13. A vapor barrier goes on the warm side in heating climates, which is the top of the insulation if you are working from below. In mixed climates or encapsulated crawl spaces, follow floor insulation best practices for your ventilation strategy to avoid trapping moisture inside the assembly.
Fixing Cold Floors in Special Situations
A concrete slab on grade loses heat through the perimeter where the slab meets the foundation wall. Insulate the outside of the foundation down to the footing with rigid foam, or install an insulated subfloor system indoors: lay a vapor barrier, then interlocking foam panels topped with plywood or OSB to lift the finish floor and create a thermal break. The second approach works when exterior excavation is not practical.
Enclosed Porches and Additions
Many older porches were enclosed without adding floor insulation, leaving only the original decking over open air. Pull up a section of flooring to check. If the cavity is empty, install batts or foam board between the joists from below, then cover with a plywood wind barrier to hold the insulation in place and block airflow. If access from below is impossible, remove enough flooring to work from above, insulate the cavities, and relay the boards.
Floors Over Unconditioned Garages
A room over a garage needs the same treatment as a floor over a crawl space: seal penetrations at the rim joist and around ducts or pipes, then fill the joist bays with batts or spray foam. Work from the garage ceiling if possible. Staple batts to the joist sides rather than the bottom to prevent sagging, or use netting or wire to hold them snug against the subfloor. Code may require a fire-rated covering such as drywall on the garage side.
Homes With Floor Registers
Cold air around floor registers usually means leaky ductwork in an unconditioned basement or crawl space. Seal the ducts with mastic or foil tape at every seam and boot, then wrap them with duct insulation rated R-6 or higher. A register that blows cold even when the furnace runs points to a disconnected or torn duct; trace it back to find the break.
Wide Gaps in Old Homes
Hardwood and softwood floors expand and contract with humidity. Seal floorboard gaps narrower than a quarter inch with latex caulk that stays flexible. For wider gaps, use rope caulk in winter and pull it out in spring, or install wood filler strips cut to fit and left unglued so the floor can move. Rigid caulk will crack and pop out within a season.
Encapsulated vs. Ventilated Crawl Space Strategies
A ventilated crawl space relies on open vents and insulation in the floor above to keep moisture moving and heat inside. An encapsulated crawl space closes the vents, seals the ground with a heavy vapor barrier, and insulates the foundation walls instead, bringing the space inside the thermal boundary. Encapsulation often delivers warmer floors and lower humidity, but it requires sealing every penetration and sometimes adding a dehumidifier. ENERGY STAR recommends sealing air leaks in basement and crawl space rim joists before insulating to prevent moisture problems and maximize energy savings.
Balancing Ventilation and Air Sealing Under Floors
Sealing gaps between your living space and the crawl space below does not block the ventilation that foundation needs. The two systems work independently: air sealing the floor assembly stops drafts into your rooms, while foundation vents or controlled ventilation manage moisture in the crawl space itself. Confusing the two leads people to leave gaps open or to block necessary airflow, neither of which solves the problem.
A ventilated crawl space relies on outside air moving through foundation vents to dilute moisture from the ground and prevent wood rot. In this approach you insulate and air-seal the floor joists above, treating the crawl space as an unconditioned buffer zone. An encapsulated crawl space reverses the strategy: you seal the crawl space itself with a vapor barrier on the ground and insulation on the foundation walls, close the vents, and condition the space as part of the home’s thermal envelope. Both work, but mixing the two—ventilating and insulating the floor—wastes energy and can trap moisture where it does the most damage.
- Warmer floors year-round because the crawl space stays closer to indoor temperature
- Lower humidity in summer; less condensation on cool ductwork and pipes
- Protects HVAC ducts and plumbing from freezing without extra insulation
- Reduces floor insulation sagging because the crawl space stays drier
- Lower cost and simpler installation in dry climates
- No vapor barrier or wall insulation required
- Works well where ground moisture is minimal and summers are not humid
- Easier to inspect and maintain because the space stays open
If you have an air brick or foundation vent delivering cold drafts directly into a room, the vent itself is not the problem—its location is. Vents placed too high or damaged grilles sometimes let air blow straight through gaps in the floor above. Seal those floor gaps with spray foam or caulk, and check that the vent grille is intact and positioned below the floor joists. If the crawl space no longer needs ventilation because you have encapsulated it, you can close the vents permanently with foam board cut to fit and sealed with expanding foam. Base units or furniture blocking air bricks in an actively ventilated crawl space will trap moisture and should be moved.
Choose your strategy based on climate and existing conditions. Encapsulation suits humid climates, homes with HVAC ducts in the crawl space, and situations where ground moisture is high. Traditional ventilation works in arid regions and where the crawl space stays naturally dry. Whichever you choose, air-seal the boundary between conditioned and unconditioned space—either the floor above a vented crawl space or the foundation walls in an encapsulated one—and leave the ventilation system on the other side intact.
When to Call a Professional and What to Expect
A blower door test and infrared scan locate hidden air leaks by depressurizing the house and showing temperature differences at gaps. An energy auditor runs the test, maps the leaks, and prioritizes fixes by impact. The audit includes a written report with estimated savings for each improvement. It helps avoid insulating the wrong areas or missing the leaks that matter most.
Spray foam insulation provides the best air seal and R-value per inch, but the equipment, mixing ratios, and safety precautions require licensed contractors with proper ventilation gear. Installers charge by the board foot—one square foot at one inch thick—and typical crawl space or rim joist jobs vary by access and foam type. Closed-cell foam adds structural rigidity and moisture resistance; open-cell foam fills irregular cavities but needs a separate vapor barrier.
Stop work and call a professional if you find standing water, extensive mold covering more than ten square feet, sagging floor joists, knob-and-tube wiring in the insulation cavities, or material that looks like asbestos pipe wrap or vermiculite insulation. Structural repairs, mold remediation, electrical upgrades, and asbestos abatement require licensed contractors and sometimes permits. Crawl space encapsulation in high-moisture climates involves grading, drainage correction, vapor barrier sealing, and dehumidifier sizing that most DIYers get wrong the first time; hiring a specialist avoids costly rework and long-term moisture problems.
For straightforward jobs—caulking rim joists, laying a vapor barrier, installing fiberglass batts between accessible floor joists—most homeowners with basic tools and crawl space access can do the work in a weekend. Hire help when the scope, safety risk, or specialized equipment makes DIY impractical. A well-sealed and insulated floor lasts decades, so getting it right the first time matters more than saving the labor cost.
Frequently Asked Questions
Can sealing floorboard gaps block necessary ventilation?
Will insulating basement walls or the floor above be more effective?
What are the risks of moisture buildup when sealing floors?
How do I find exact air leak locations under my floor?
What is the best way to insulate a concrete slab floor?
Do rugs really help stop cold air coming through floors?
We cover insulating staircase gaps in its own guide.
Before you buy anything, it is worth looking at how to insulate an attic bathroom properly.
